Gardening & Planting Basics
It’s almost April! Garden and planting season is here! While there are a limited amount of seeds being directly sown into the ground this month, gardeners in most regions are in the planning stages of laying out their gardens. It’s an ideal time for starting seeds indoors, so they will be established before transplanting into the ground or container boxes. Not all seeds are best started in seed trays, some thrive best when directly sown where they’ll grow and mature. Let’s cover the basics to help you plant a garden.
There are certain months that are ideal for starting each garden variety of plant. For example, you will start seedlings for cabbage earlier than tomatoes. You can find this information on the back of your seed packets. There you’ll find information that is specific to each seed variety.
It’s also important to know your zone. Do a search for “plant hardiness zone map”. The USDA offers detailed zoning info which is helpful when you’re gaining an understanding of your region.
Start with Soil
Soil matters! My daughter, who has worked at a greenhouse for the past several years, continues to emphasize soil for the success of seeds thriving into mature, productive plants. She recommends Promix for planting. Promix offers many varieties of soil mixes, depending upon what your specific gardening or planting needs may be.
Here’s a short 3 minute video to educate you about what comprises good quality soil for planting.
A reference that I find helpful is the Virginia Cooperative Extension at Virginia Tech for thorough information about soil peparation, among many gardening recommendations. Check out the local cooperative extension in your state for information and tips to help you plant a garden in your region.
My Bad Soil Experience
The first year that I had container boxes, I purchased soil from a local landscaping company whose soil was a lighter brown color. It wasn’t black, rich, or healthy. Without an understanding that soil color indicates quality, I purchased the brown soil, and planted a flat of plants that I had purchased from a local greenhouse. I couldn’t wait to plant my garden. Over the next couple of days, the plants were struggling. I checked the pH and it was way off.
At that time, my planting knowledge was very limited and I didn’t know how to recognize quality soil. A few weeks later, my mom had a beautiful load of dark, rich soil delivered to her house. When I saw that beautiful dirt, I realized just how poor quality the soil I had purchased really was. It took me a few years of adding all kinds of stuff to it just to get close to a healthy pH. Since then, I’ve been very careful to purchase gardening soil. I’ve even used a pH soil meter to verify that I’m buying dirt with the right pH.
If you prefer ready mixed soil, bagged gardening blends, like Miracle Gro’s Organic Raised Bed In-Ground Soil, have an ideal pH for planting and growing.
Plant Your Garden with Compost
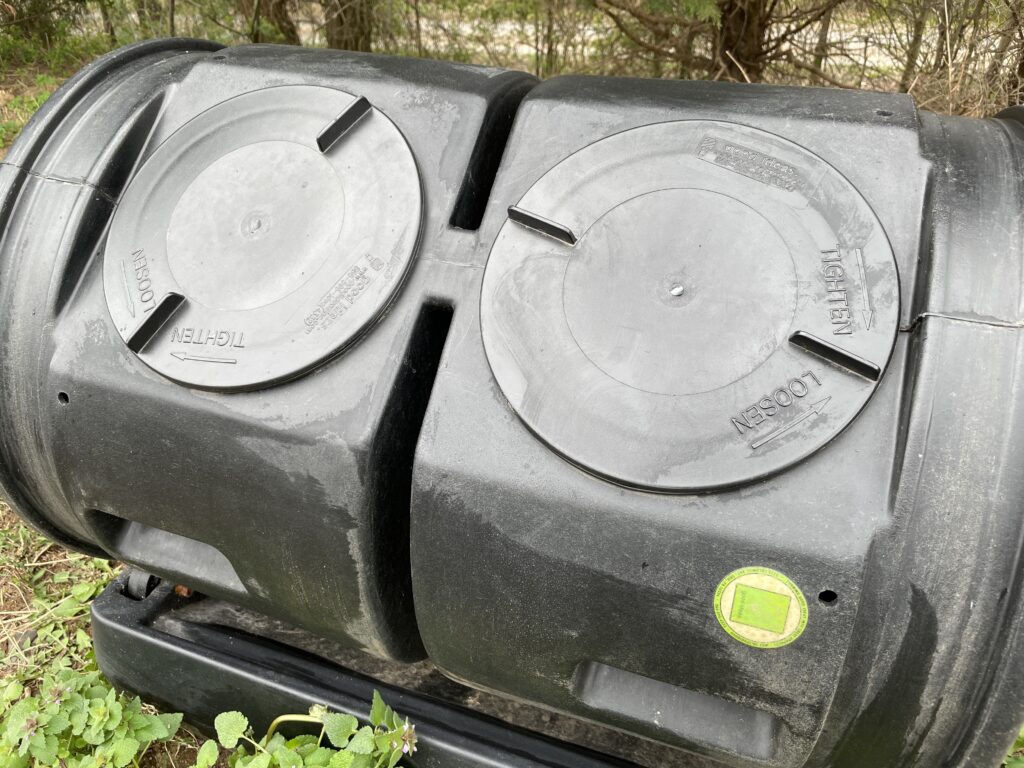
Homemade Compost
Composting is becoming very popular these days. A trend towards repurposing and recycling in general has become commonplace, and that seems to encourage composting. Gardener’s World has a great article on making compost. I like to include chicken poop and shavings, cardboard, egg shells, wood ash, vegetable peels, sawdust, leaves, tea bags, and even coffee grounds in my compost. Compost is a wonderful addition to help you sucessfully plant your garden. For compost storage, I prefer to use a compost bin that I turn every couple of days, but I’ve seen a lot of other great ideas for DIY compost bins. It’s amazing to me that it doesn’t have an odor when I remove the lids and add more composting materials. Actually, it doesn’t smell like anything. The University of Minnesota Extension has a great page dedicated to explaining composting in home gardens.
Cow Manure Compost
To enhance my soil, I also mix Black Kow manure into my boxes at the beginning of most growing seasons. If necessary, I add lime as well. Since we burn wood, as a supplementary heat source during the winter months, I add some of the wood ash to my container boxes and my compost bin. I just spread it on top of my soil and wait until growing season to turn it over with a shovel and mix it in. The reason for waiting is because it’s important to allow soil to rest over the winter months. Various changes are happening in the soil while it rests, and that includes the growth of microbes. Rested soil sets you up to successfully plant your garden.
Seeds
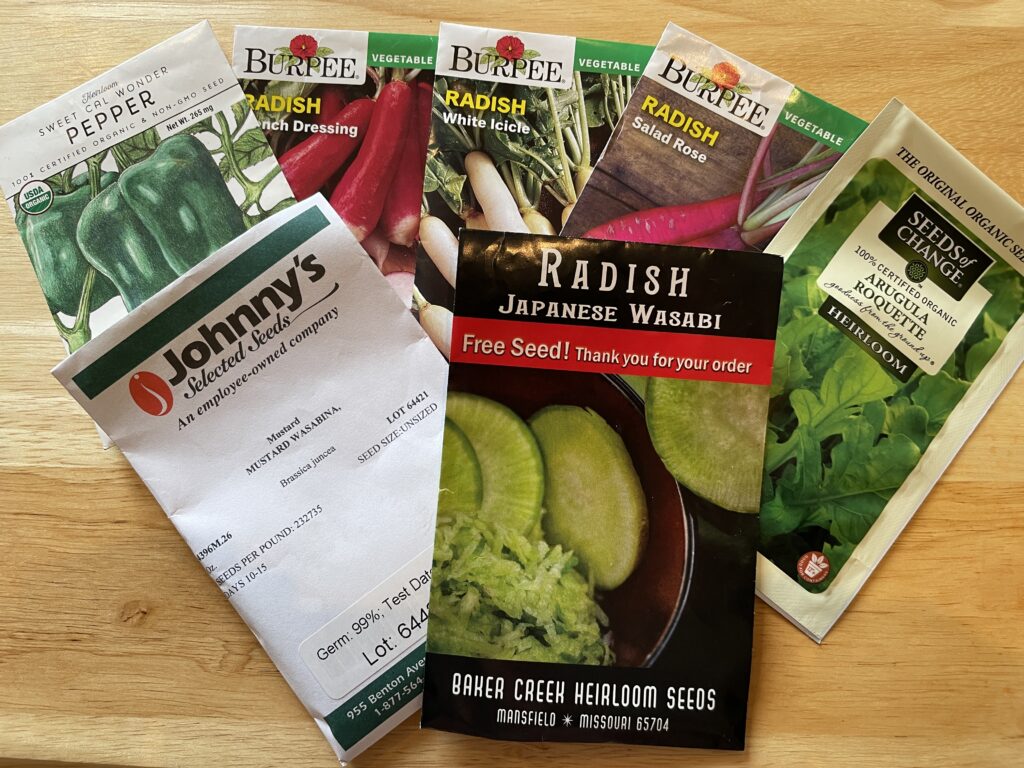
There are 4 types of seeds to plant in your garden: Heirloom, Open-Pollinated, Hybrid, and GMO. A quick Google Search for “seed types” offers some pretty great sites that explain these types of seeds in detail. I’ve heard many people say that heirloom seeds yield vegetables with more intense flavors, whereas the hybrids have less flavors. I haven’t tested the theory, but the arguement behind it makes sense. Then there’s the debate about heirloom and organic vs. hybrid and GMO. Many people feel that hybrid and GMO seeds violate their concerns about eating as clean as possible.
Where to buy seeds?
Seeds are sold everywhere from big box stores, to small farm supply stores, greenhouses, and nurseries. You can also order them online. It’s kind of an addiction, if I’m being perfectly honest. First, determine what kind of seed you’re seeking. You may be like me, and prefer organic or heirloom. If so, I’ve had great success with Seed Savers Exchange, Johnny’s Selected Seeds, and Baker Creek Heirloom Seed Company. However, there are many others that are great, too! For a variety of hybrid and traditional seeds, a well known company like Burpee markets their seeds in big box stores.
Check out this informative 3 minute video about seeds.
Starting Seeds Indoors vs. Direct Seed
The best planting directions for each seed variety is on the back of the seed packet. A seed packet back contains information on seed sowing depth, frost hardiness, ideal growing temps, and the number of days until germination. Hang on to those empty packets in the event that you start saving seeds from your plants. You’ll then have planting instructions and information for the future.
Keep in mind that some vegetables have a longer growing season than others. Regardless, don’t be tempted to plant your delicate seedlings outside before the risk of a freeze is in the rearview mirror!
Where I live, there’s a mountain that can be seen behind my house. The older generation here has a rule of thumb that locals should wait to plant outside until they see spring green on the tree line halfway up the mountain. Then they know the risk of a freeze is minimal. I’ll admit, I’ve ignored that rule a couple of times only to lose some of my delicate plants, whose leaves are susceptible to frost.
Some plants are hardier than others, and are more frost resistant. However, most plants don’t survive a freeze.
Indoor Seed Starting
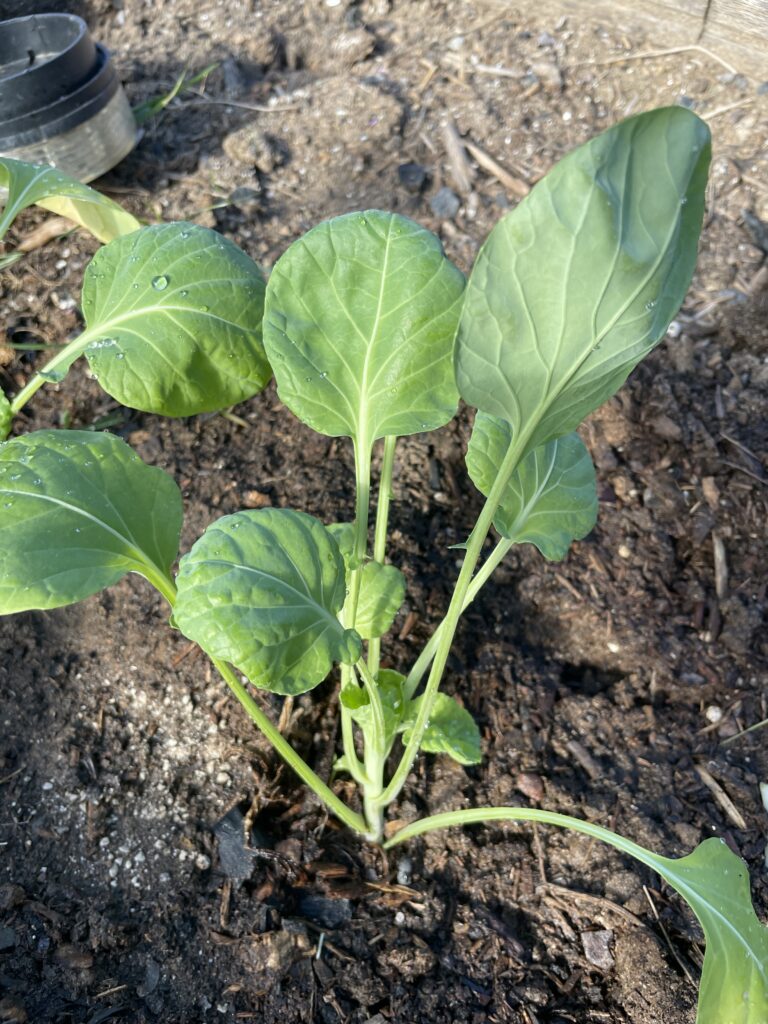
The experts suggest that plants with slower root development are best started indoors. Generally, winter squash, tomatoes, cabbage, brussel sprouts, broccoli, eggplant, peppers, celery, and cauliflower thrive best when started indoors.
While not commonly practiced, some people believe that it’s important to have a fan on their small plants after germination. The purpose of this is to help reduce the chance of mold and strengthen stems.
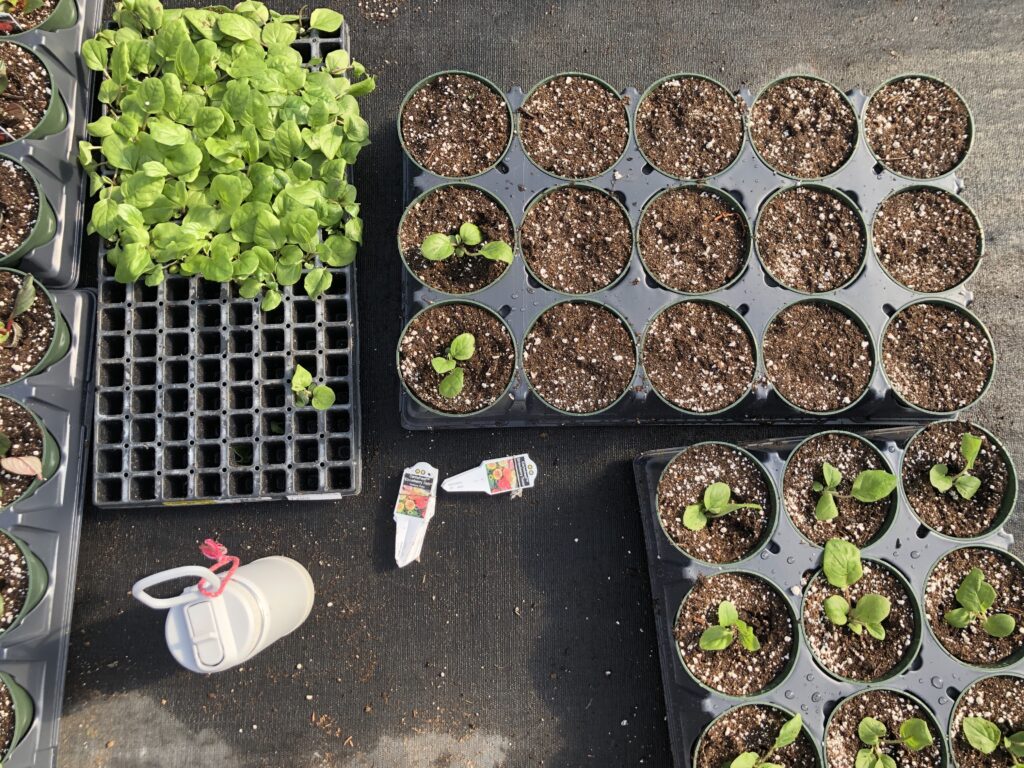
Seed Starting Options
6 Pack, Tray, or Repurposed Container
Many people prefer to plant in a regular plastic 6 pack. They’re inexpensive and can be torn down the side when time to plant, revealing the dirt and root of the plant ready to be transplanted. Others prefer pots, trays, or repurposed containers.

Peat Cups
Peat cups are biodegradable and eco-friendly. Just fill with dirt, plant your seeds, water, and wait. When the plants are ready to go in the ground, just plant the whole cup. Easy!
Peat Pellets
Many people prefer peat pellets for the ease of planting. I like the Jiffy Seed Starting Greenhouse. It comes in a 2 pack, which allows for planting many varieties of seeds. The beauty of these little pellets is that they can be directly planted into your garden soil or container box.
DIY Seed Cups
This nifty little seed cup maker helps you turn newspaper into seed growing cups. It’s called a Newspaper Pot Maker. So, if you have access to newspaper, this little gadget is very helpful.
Regardless, containers must offer adequate drainage, whether a 6 pack, pots, cups, or even containers made out of newspaper.
Hardening Off Seedlings
An important transitional phase for your seedlings is called “hardening off”. Basically, the process involves bringing your seedlings outside during the day, and then bringing them inside for the coldest part of the night. Repeat for a couple of days to a week. This is a step in the gardening process that is important for creating a hearty plant.
Buying Plants Ready for the Garden
Maybe you aren’t sowing seeds and prefer to purchase plants that are already established and ready for your garden. When you bring them home, check the forecast to see if a spring freeze or frost is in the forecast. If so, wait until the risk has passed. Then, plant in an area of the garden that offers optimal sunlight.
Exposing Plants to Light
When our local greenhouse opens for the season, their vegetable plans sell out quickly. As a result, I have to buy my plants early and care for them indoors, until the temperature is safe for outdoor transplanting. New plants should be placed in an area where they receive plenty of natural sunlight. A growlight is helpful when optimal lighting isn’t available. I also check the soil daily to see if the new plants need watering. Sometimes all I need to do is mist my plants with a spray bottle.
Protecting Plants Early in the Season
After planting, I’ve been able to successfully protect plants from frost by using a frost cloth. Additionally, I’ve been able to grow arugula into the winter just by making somewhat of a hoop house over my container box and covering it with frost cloth. Homestead and Chill offers a great “how to” for doing this. As you can see, it’s just PVC, hardware to hold the PVC, and frost cloth. It’s simple and easy!
Don’t Forget About Water
Water is essential! Lack of water is often the reason plants die. For seeds planted in 6 packs, peat pots, and DIY cups, insert seeds the recommended depth on the back of the packet, then water moderately. After that, monitor daily for signs of drying. It’s important to note that if a fan is on the seedlings, they will dry out quicker. Check on plants in the ground daily to ensure the soil is adequately watered. It’s easy to go a couple of days and forget, but you may find wilted and depressed plants if it they haven’t been watered in a couple of days.
Accessories for Planting
If you have minimal indoor lighting where you’re placing newly planted seeds, consider growlights to provide consistent lighting, and the right kind of lighting.
I also like to use a germination mat under my freshly planted seeds to create the ideal soil temperature for growing. Warm soil and luke warm water simulate a nice warm spring rain. Seedlings and plants respond well to this!
Garden Vegetables for Beginners to Plant
Some plants are easier to get started with than others. Is there a vegetable that you just love to eat in the summer, like cucumbers, tomatoes, or zucchini? What about a vegetable that you like to have for cooking all year long, such as tomatoes or beans, and you’d like to be able to can or freeze for on-demand cooking? Your favorites may be a great place to start. Some of the easiest vegetables to grow are radishes, cucumbers, lettuce, swiss chard, tomatoes, and beans.
If you have the room, squash and zucchini are pretty easy to grow. Yet, they are more susceptible to pests. These plants spread out as they grow, and their leaves are very large, so they will need more space than most vegetable plants.
Herbs are great for beginners too! Basil and parsley are wonderful herbs to grow for flavorful cooking. Their leaves can be dehydrated for year round use. There’s nothing like fresh chives on potatoes. Fresh herbs really complement the flavors of grilling out. Wherever you plant them, keep in mind that some herbs like rosemary, catnip, and oregano are perennials and survive the winter months.
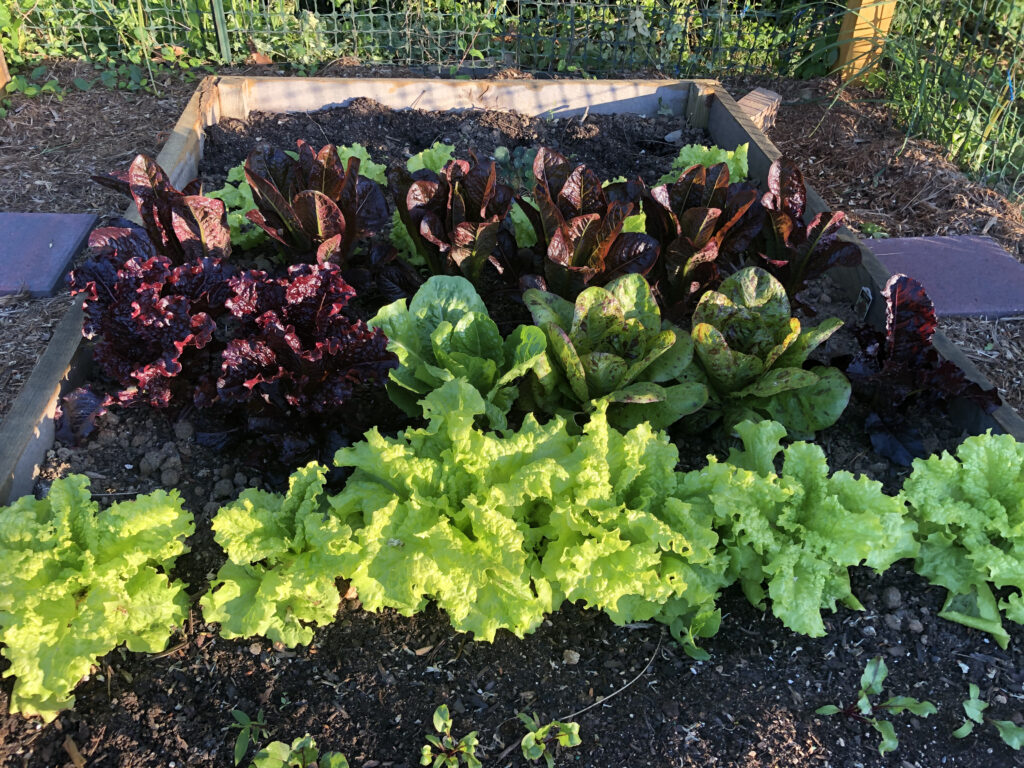
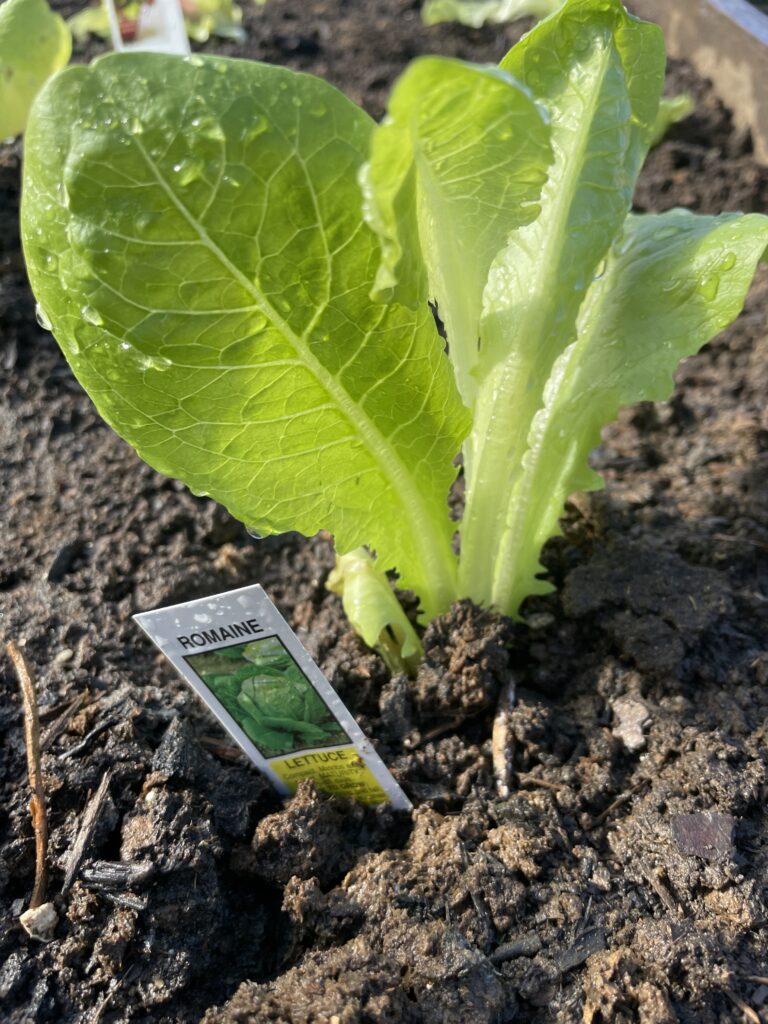
Lettuce is another great vegetable for beginners. The great thing about lettuce is that a variety of different kinds can be purchased at local greenhouses. I am a huge homegrown lettuce fan! The different varieties offer loads of flavor and texture, and can make the most boring plate ultra inviting. A few varities of lettuce will provide you with more than enough during the growing season for salads, sandwhiches, and to share. With produce so heavily sprayed these days, store bought lettuce, unless organic, has it’s share of pesticides. I appreciate the peace of mind that I have when I feed my family lettuce from home. Having an abundance also encourages me to regularly eat a salad, rather than gravitating to something unhealthy.
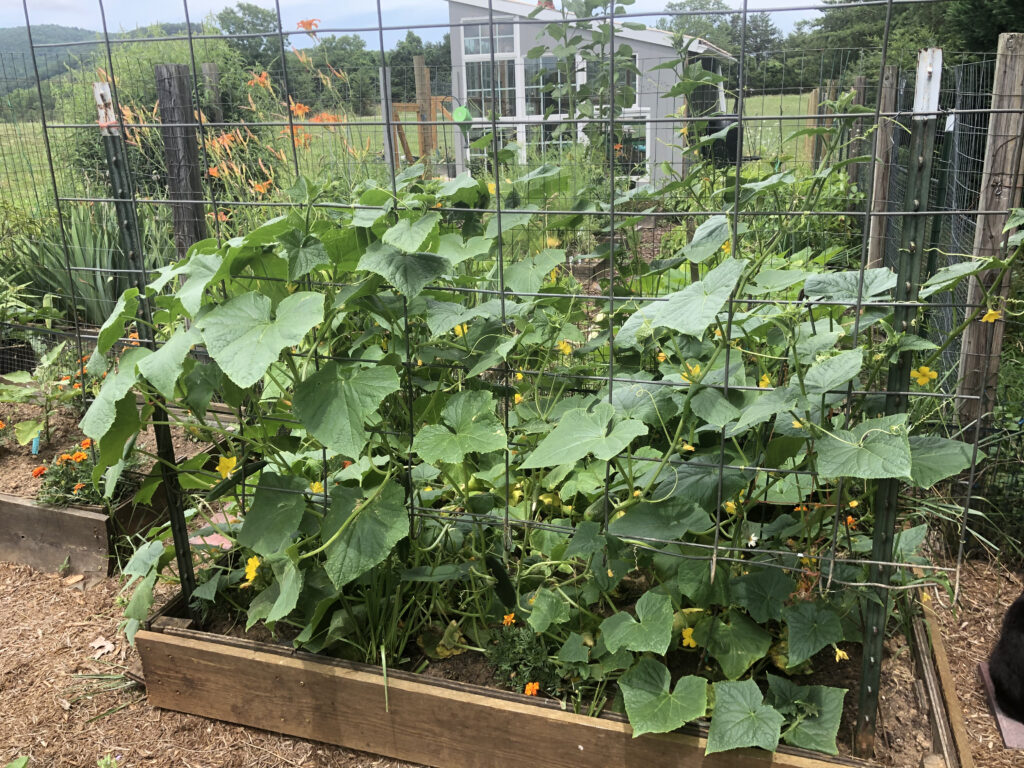
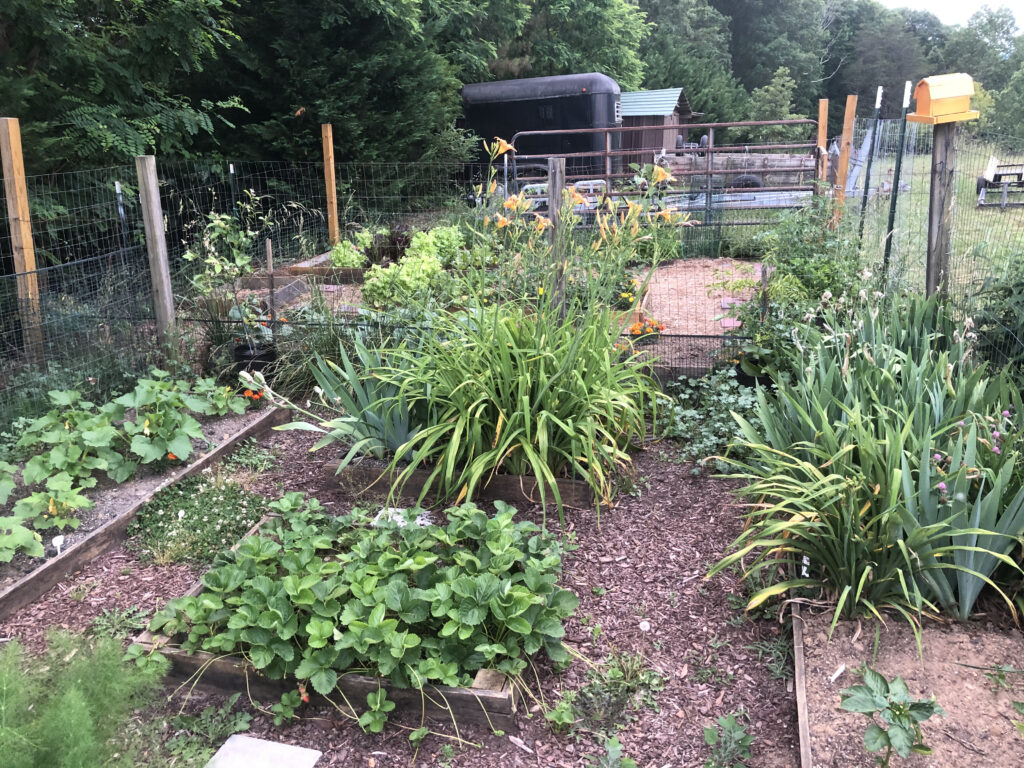
Plant Your Garden in Container Boxes
Container boxes are my preferred method of gardening. I like seeing where I’m walking when I am working with my plants. I seem to have a greater fear of snakes than most people. While it’s not impossible that I’d have one curled up under a squash leaf, I think I would more likely see it in my boxes than in a traditional garden. I don’t want to reach for a beautiful eggplant only to find that what I’m reaching for isn’t an eggplant!
I also like that I can really cater to the soil in my boxes, with higher quality bags of dirt and manure to mix in. It’s beneficial that the dirt is contained in a specific area where it’s not as susceptible to washing away. I can also check the pH and easily improve boxes with additions to the soil. Speaking of pH, I love this handy little gadget for checking pH and moisture. It has allowed me to see which boxes are a little more on the acidic side. For those boxes, I make sure to plant veggies that thrive best in acidic soil, such as radishes, peppers, parsley, cucumbers, tomatoes, and squash.
Garden with Companion Planting
Companion planning is the mutualistic, beneficial relationship between types of plants. When planted in union, they offer benefits such as repelling pests. They also encourage plants to thrive in a unique way. For great info on this topic, I recommend the book, Carrots Love Tomatoes, by Louise Riotte.
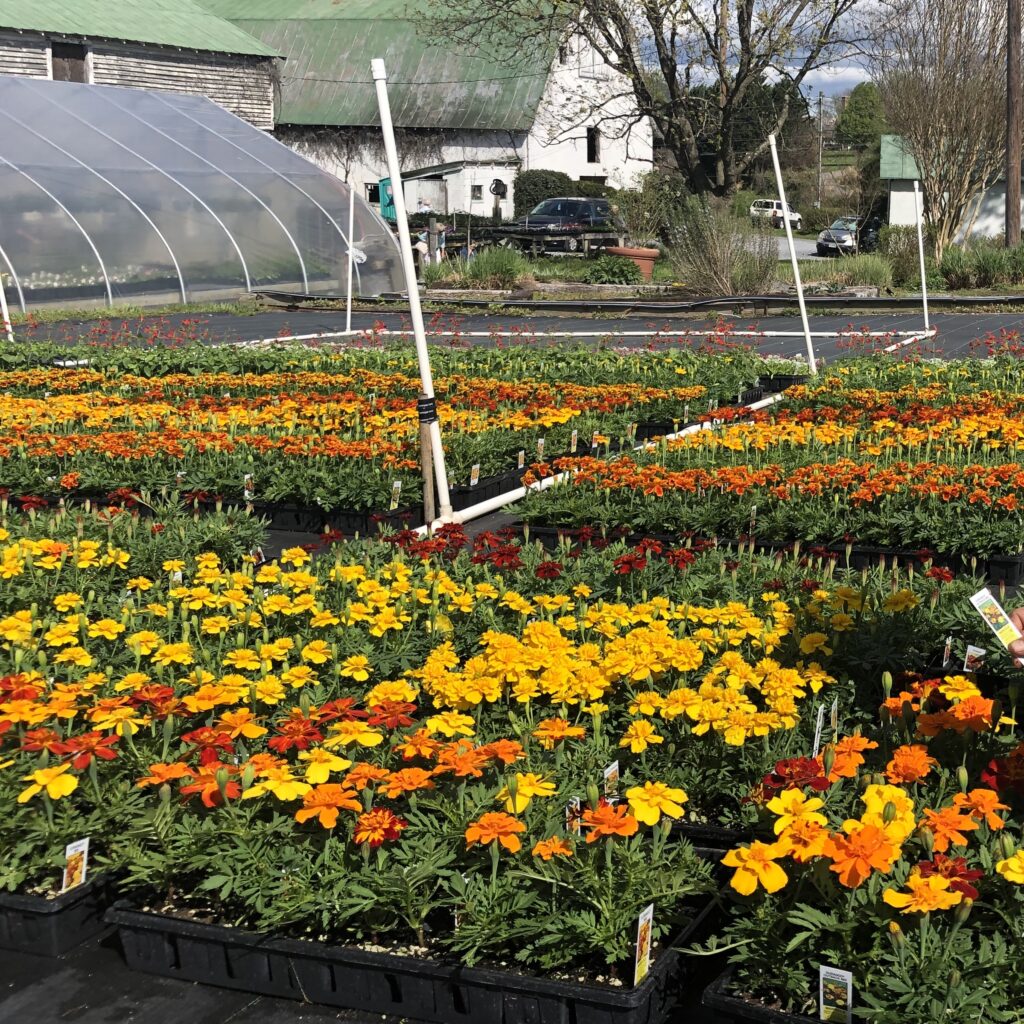
While the jury is out on this one, many experienced gardeners recommend marigolds as a companion plant for deterring pests. I buy a flat of them during planting season and plant them among my vegetable plants, throughout my container garden. In my opinion, since I have seen a significant reduction in bugs, it seems to me that marigolds work and they work well. They’re not only effective, they’re pretty, too!
Plant your Garden Overview
This is a scratch the surface overview of gardening and planting. However, we at Life In The Country USA hope this helps you get off to a strong start as you plant your garden this season. Check back regularly during the garden and planting season as we share planting tips. For future updates on our gardening page, visit https://lifeinthecountryusa.com/gardening/.