I️f you have an unfinished area of your home that is currently being used as storage, finishing off that space will offer a range of options. It will likely improve your home’s value. In fact, real estate experts and financial analysts suggest than adding a room could improve your home’s value by 15%-20%.
An extra room could serve as a home office, library, or multipurpose space. Other possibilities include a bedroom, playroom, studio, or even a separate area for home education. Here’s a DIY to help you finish that unfinished room you’ve been dreaming about.
If you enjoy a good DIY, like we do, you’ll find this is a project that increases value, but has many areas that don’t have to break the bank. When the project is complete, you’ll have the satisfaction of knowing your hardwork paid off.
Unfinished Hardwood DIY Disclaimer
First, I’d like to share a disclaimer up front. We are not professionals, just a couple who really loves a good DIY. It’s fun to share and inspire others to tackle projects that they might not otherwise consider.
Below you’ll find tips and photos to guide you through finishing off that unfinished room that you’ve been eyeing for quite some time.
My Story
During the early days of COVID, when everything was shutting down, I️ found myself at home with 3 kids of varying ages from elementary school to college. Therefore, the situation was shaping up to demand an immediate solution. We needed extra space, ASAP.
My Solution…Finish that Unfinished Room!
Our detached garage had an empty, unfinished bonus room above it. Longingly, I had my eyes on that space for quite some time. It was above our detached garage, and not attached to the house. However, that ended up working out well for many reasons.
We Got the Ball Rolling
Door Installation
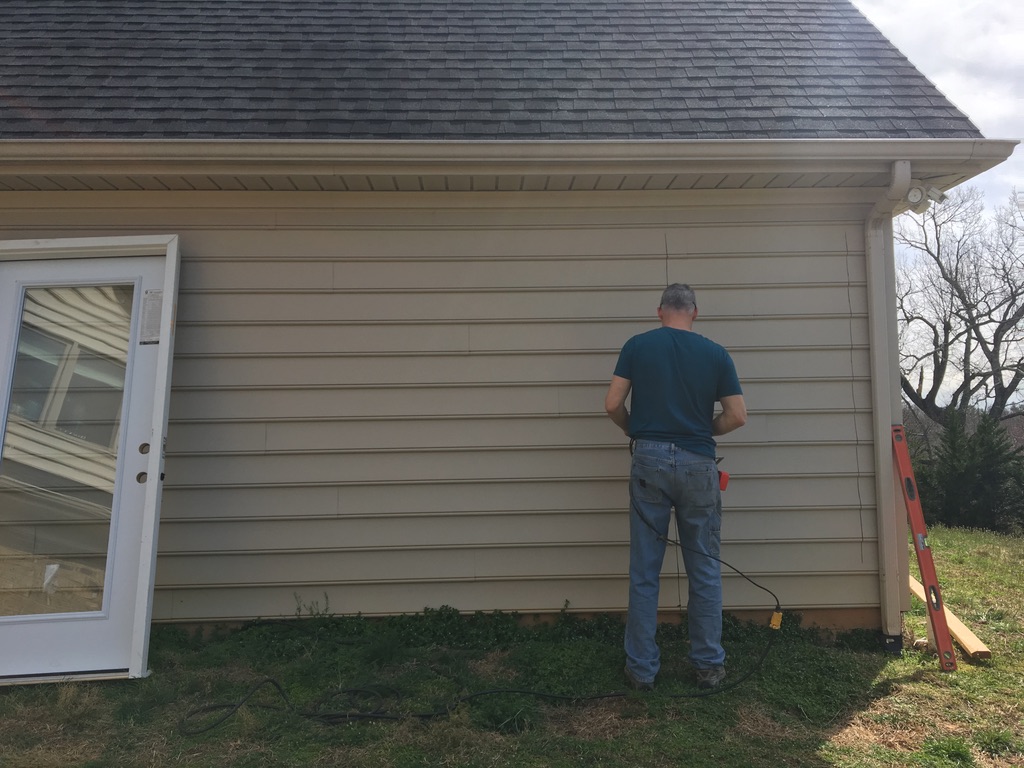
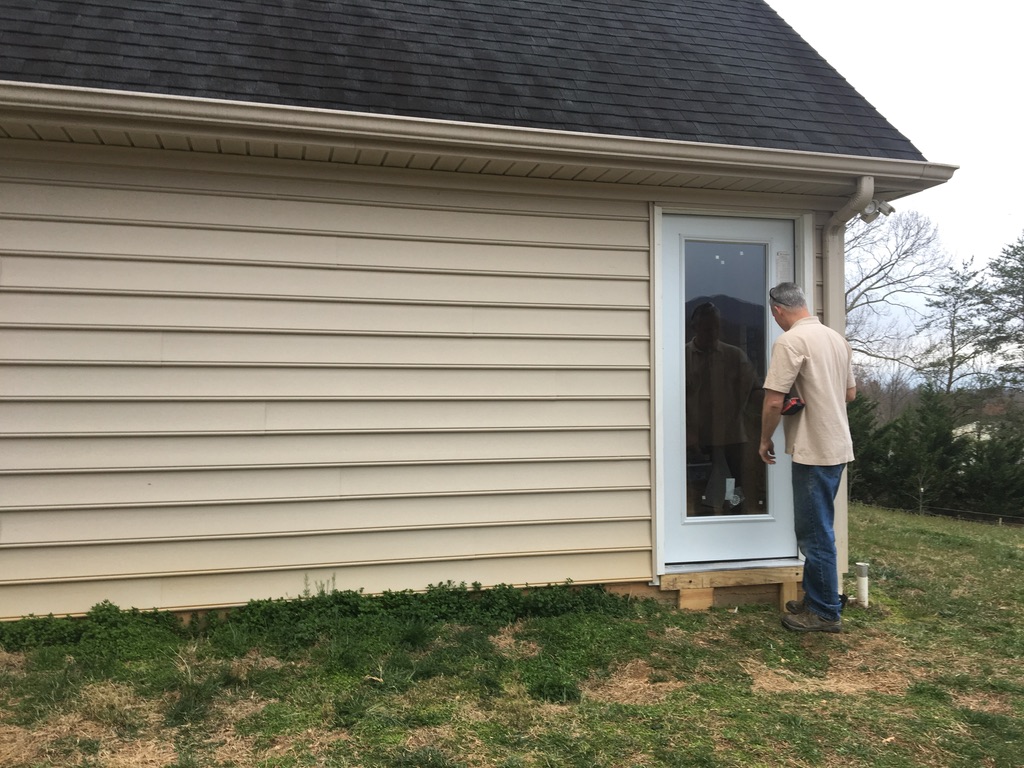
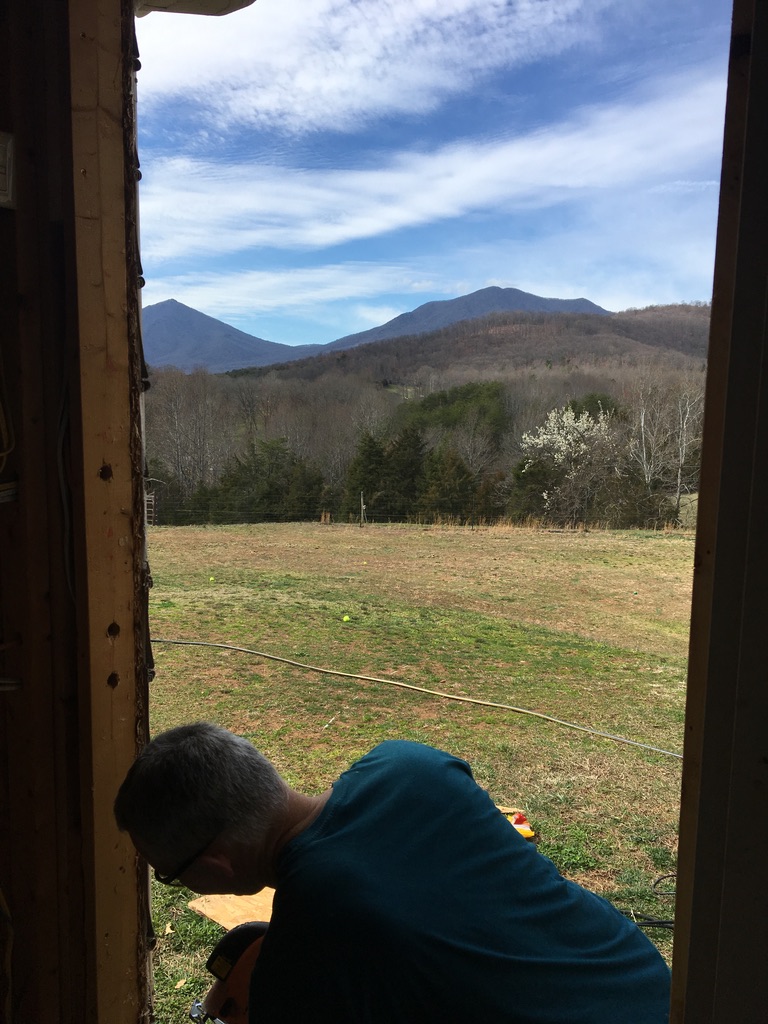
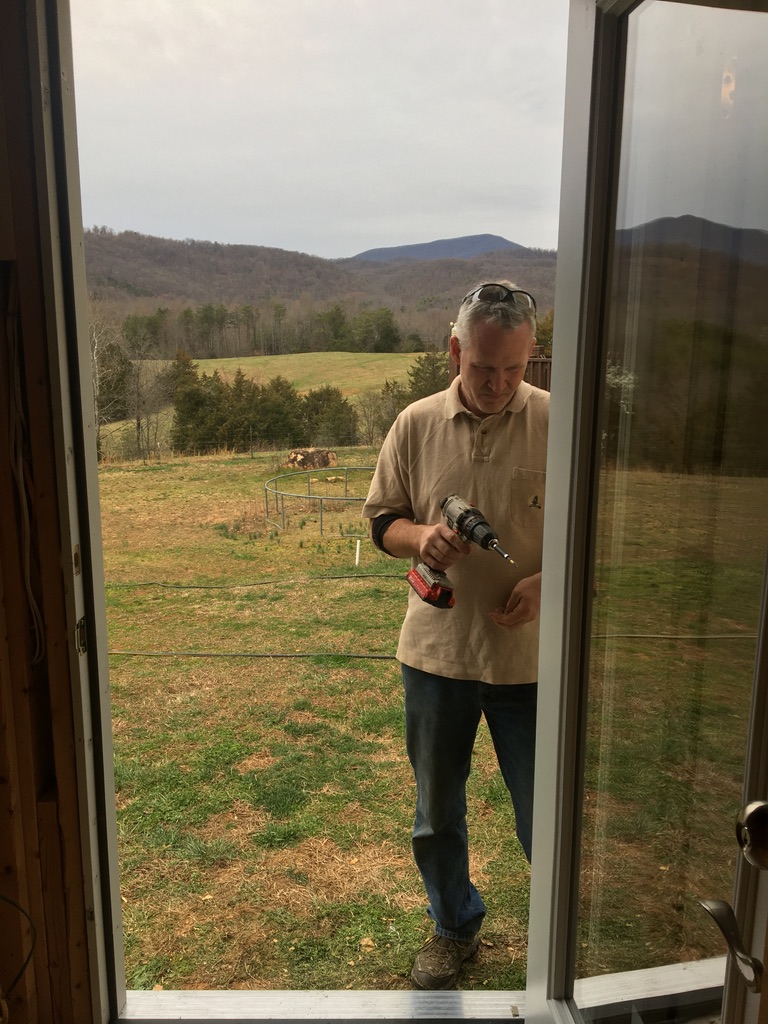
We needed an interior door, accessible from the garage. For functionality, we also installed an exterior door. This new door revealed a view that we didn’t know existed from that side of the house. It also allowed natural light into the base of the stairs, which would have been dark without it. Next, it was time for electricity.
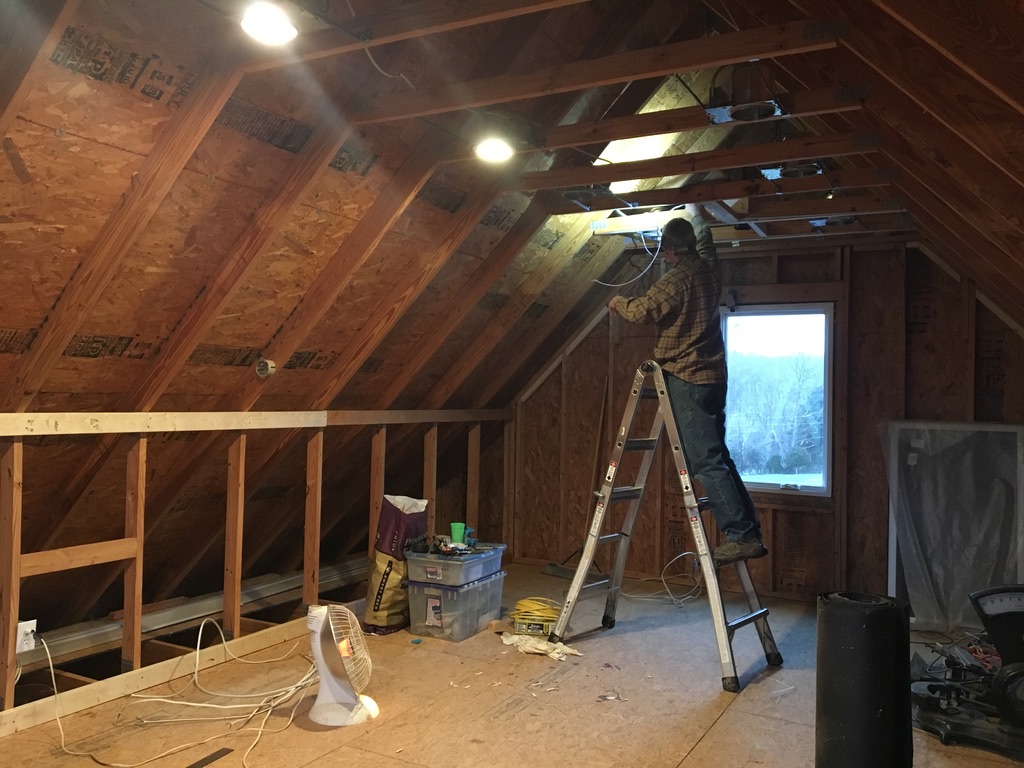
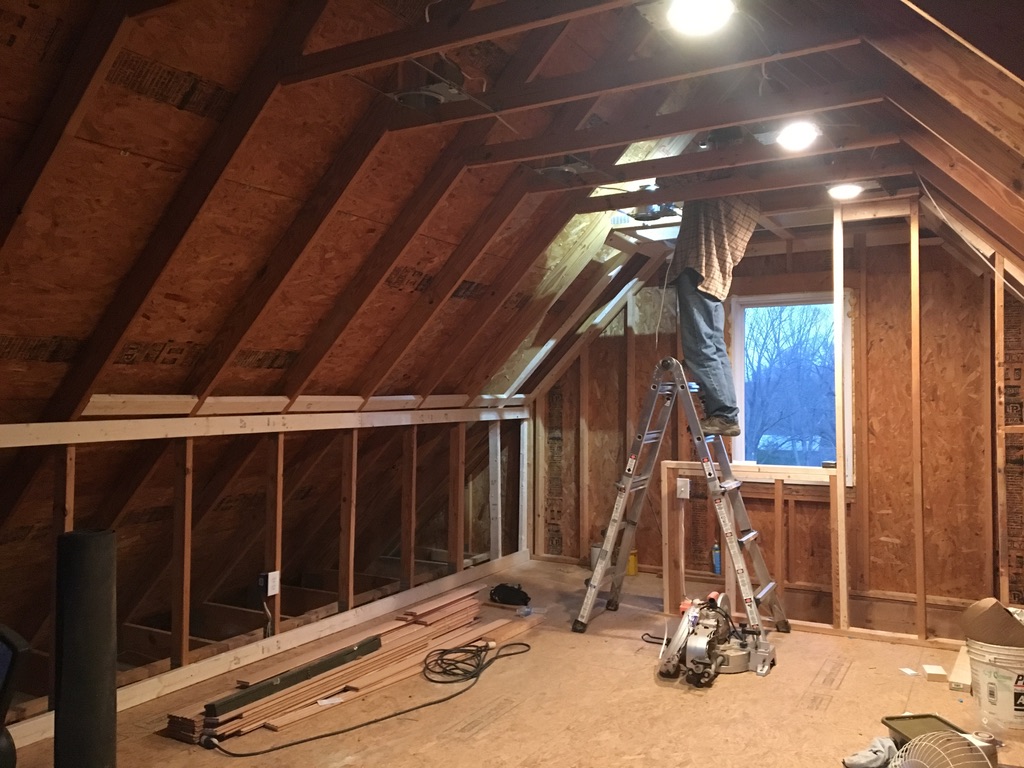
Electrical Wiring in an Unfinished Room
The time to run electrical is when the room is unfinished, but the framing is complete. Figure out where you’d like receptacles and switches. Determine where lighting is necessary. We opted for regular LED canned lights https://amzn.to/3YvmHNO, but smart LED canned lights would have really offered a nice effect in the room. I chose a separate light where I️ knew we’d have a table.
Do You Need an Electrician?
Since making mistakes with electricity can be the difference between life and death, wiring is where a licensed electrician comes in handy. Do not attempt electrical wiring as a DIY if you’re not experienced. Ask around and find someone reputable.
Heating & Cooling – An Economical Solution

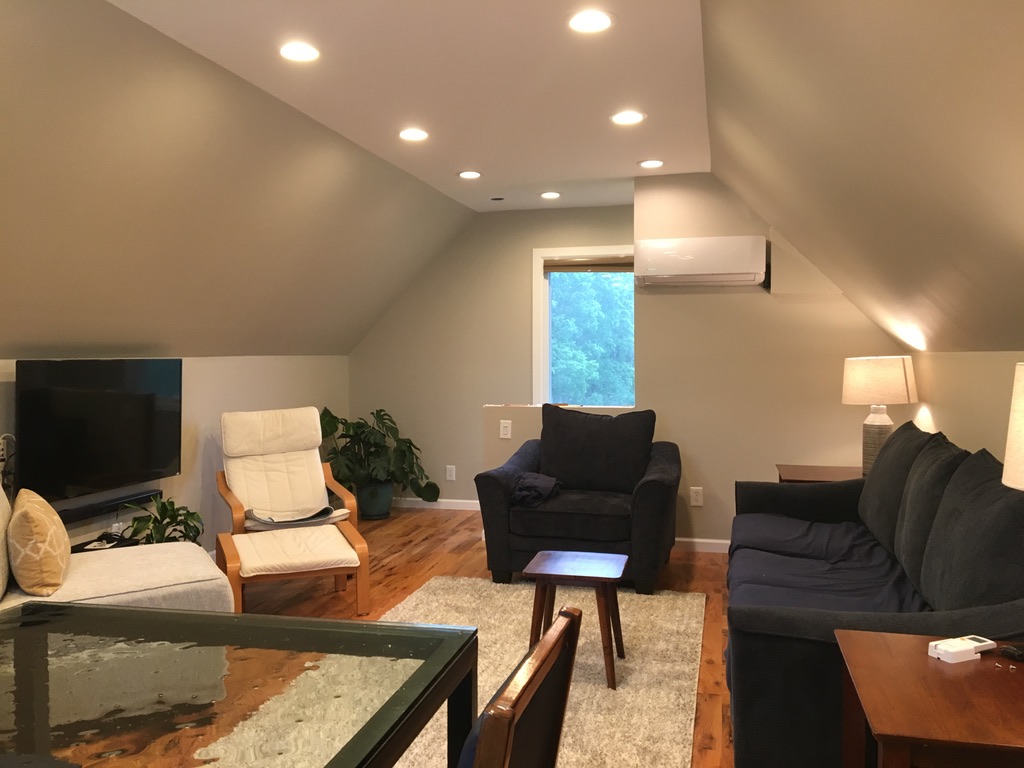
A traditional HVAC system would have been an expensive addition. However, I️ kept seeing ductless mini split systems all over town – new construction, existing construction, and warehouse loft renovations. I️ watched a bunch of YouTube videos with my husband. We decided to order one and install it ourselves. It was a MRCOOL 22 Seer system like this https://amzn.to/3kUQ52r.
I really like the remote that comes with this unit. For those techy folks out there, being able to control the temp via the app is very handy. We’ve not been disappointed and because my husband was experienced with electrical wiring, it didn’t require professional installation. It came charged, so no need for an HVAC professional to make a visit to charge the unit. This was purely DIY and it has been economical, efficient, and quiet, too.
Sizing the Unit
We chose our unit based on reading tips about how to select the appropriate unit. For example, converting square footage into BTUs allowed for estimating the BTUs needed to heat and cool the room. First, measure the square footage of the room. This is accomplished by measuring the length and multiplying it by the width. To complete the BTU calculation, multiply the square footage of the room by 25. Now, search online for ” BTU sizing charts” or “Ductless sizing guides”. These charts will guide you to select the ideal sized unit. Consider the climate of the area where the unit will be installed. Is it colder or hotter than average? The answer to that question will definitely influence your selection.
Insulation for the Unfinished Room
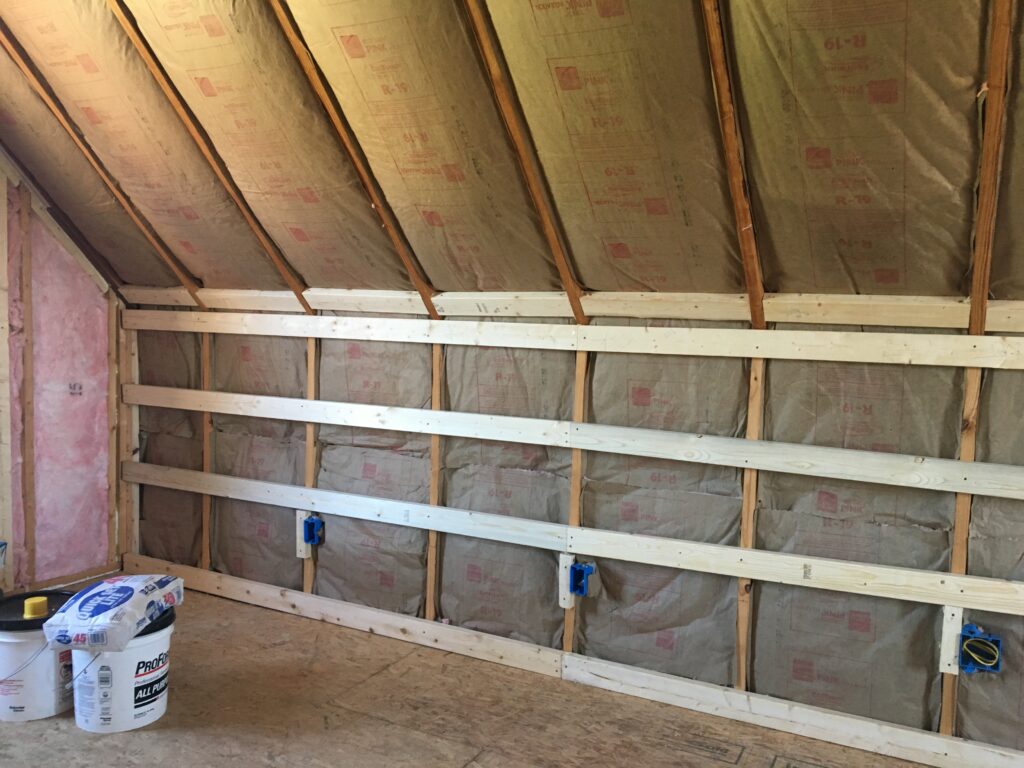
Knowing how important it is to seal gaps, we prepped the unfinished space prior to insulating. We caulked every potential gap we could find. Windy days are especially beneficial for doing this.
We also installed drywall on the ceiling of the unfinished garage. That way, we could have insulation blown in the garage ceiling below, which would offer a necessary area of protection. It paid to call around. I found a company that could complete the job for less money than we would spend in materials alone, and in a fraction of the time. They completed it all in one day from start to finish.
Unfinished Wall Reinforcement
We then reinforced areas where we knew we’d like to hang a TV or something heavy. If you do the same, remember to take pictures of those areas so you’ll know precisely where they are after the drywall is installed.
Drywall
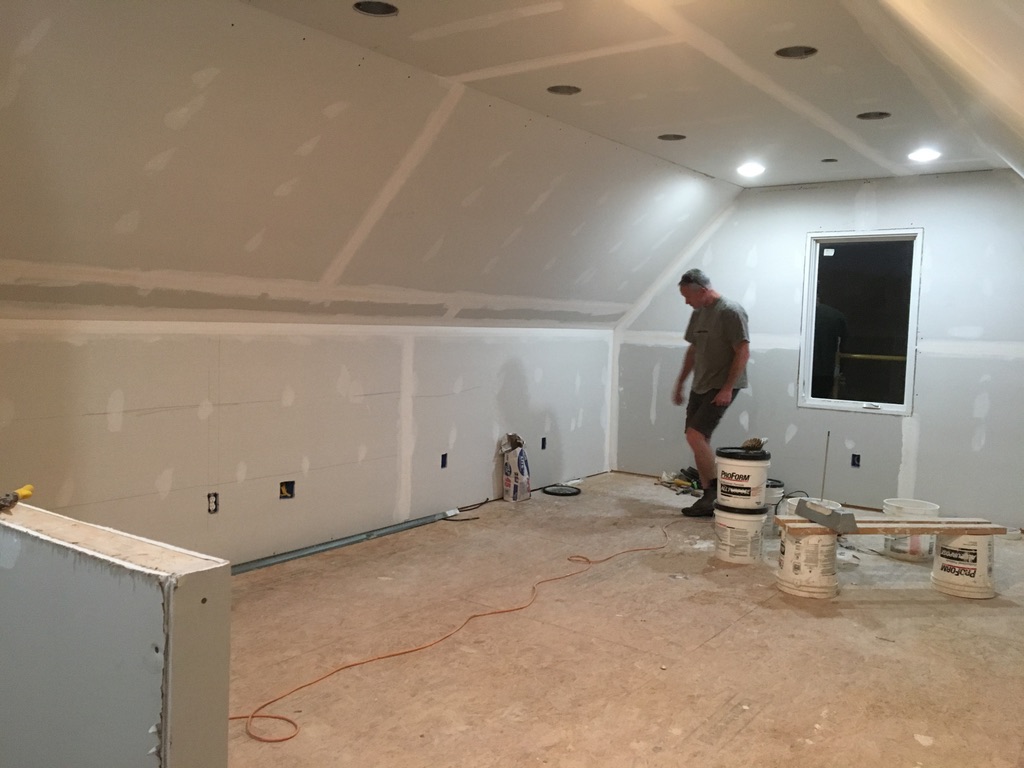
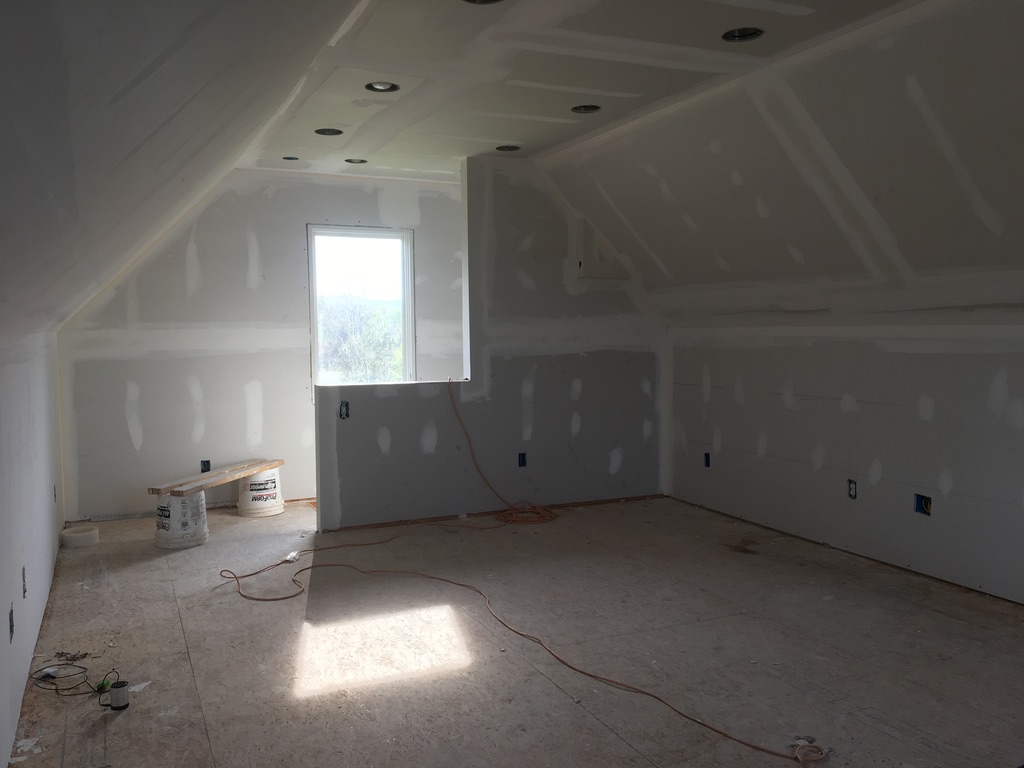
Drywall was delivered, by a company who had the equipment to lift and feed it through the window on the second floor. What a time saver!
I️ asked around and found someone highly recommended for installation and finishing. Paying for this service was necessary. There wasn’t time to do it ourselves and it’s an incredibly messy job. We also needed someone experienced in finishing drywall with angles and tapered ceilings.
Prime & Paint First
Remember, prime and paint BEFORE installing your new flooring! We learned the hard way to prime and paint before flooring is installed. It prevents overspray from coating it. Ask me how I️ know!
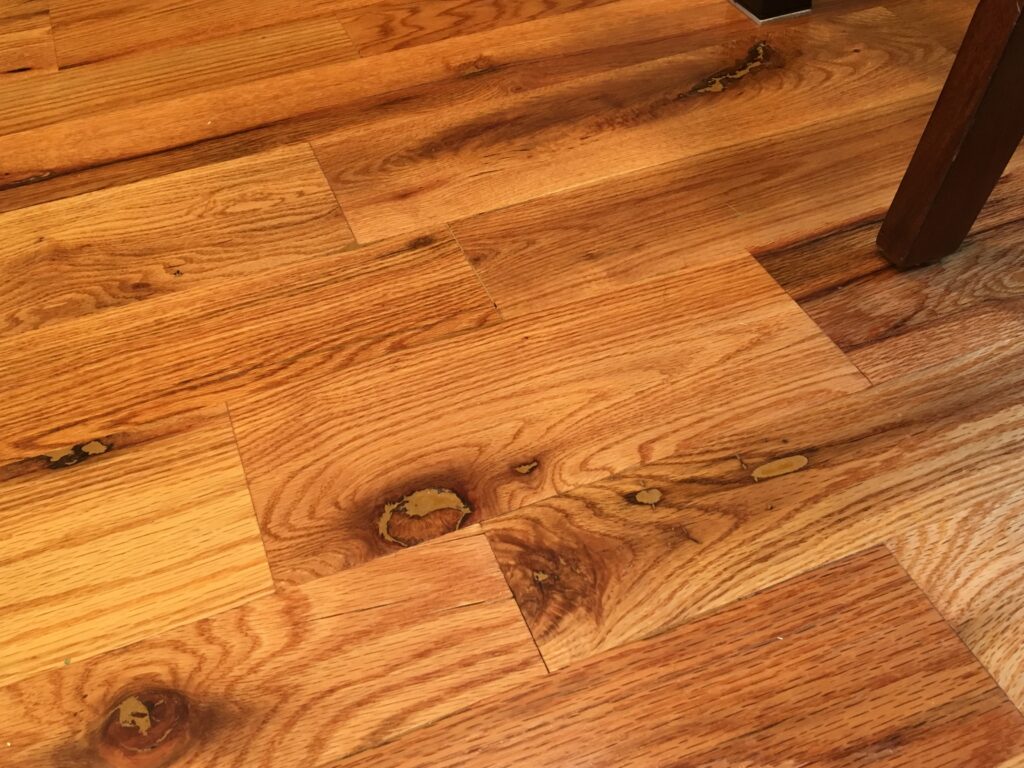
Our Lesson Learned
When we built our house, we installed hardwood flooring on both floors by ourselves. While it was unsanded and unfinished, the painters came and inadvertently covered the flooring with overspray. It appeared that we had removed it all sufficiently with a drum sander. However, when we applied the first coat of polyurethane, it pulled the overspray out. To our dismay, our beautiful hardwood flooring was full of white speckles. Time to make a phone call! We had a professional come out to fix our somewhat costly mistake. He sanded and prepped the floors, so we could finish them. Those early experiences prepared us for this bonus room. We had learned to prime and paint first!
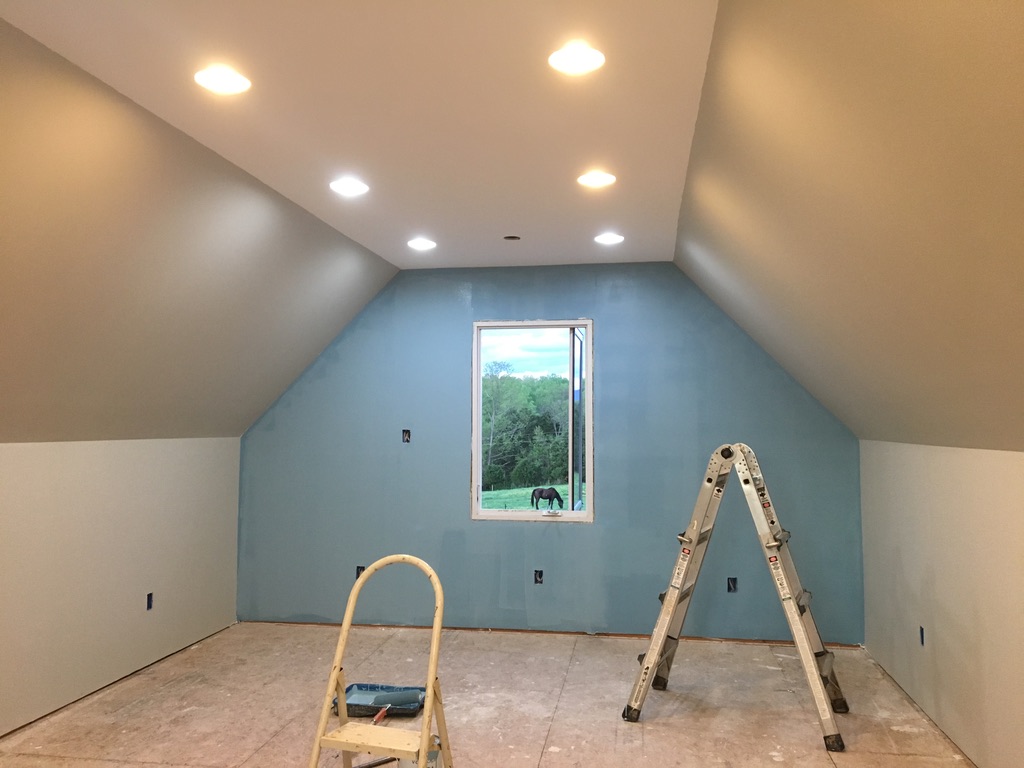
Paint Selection
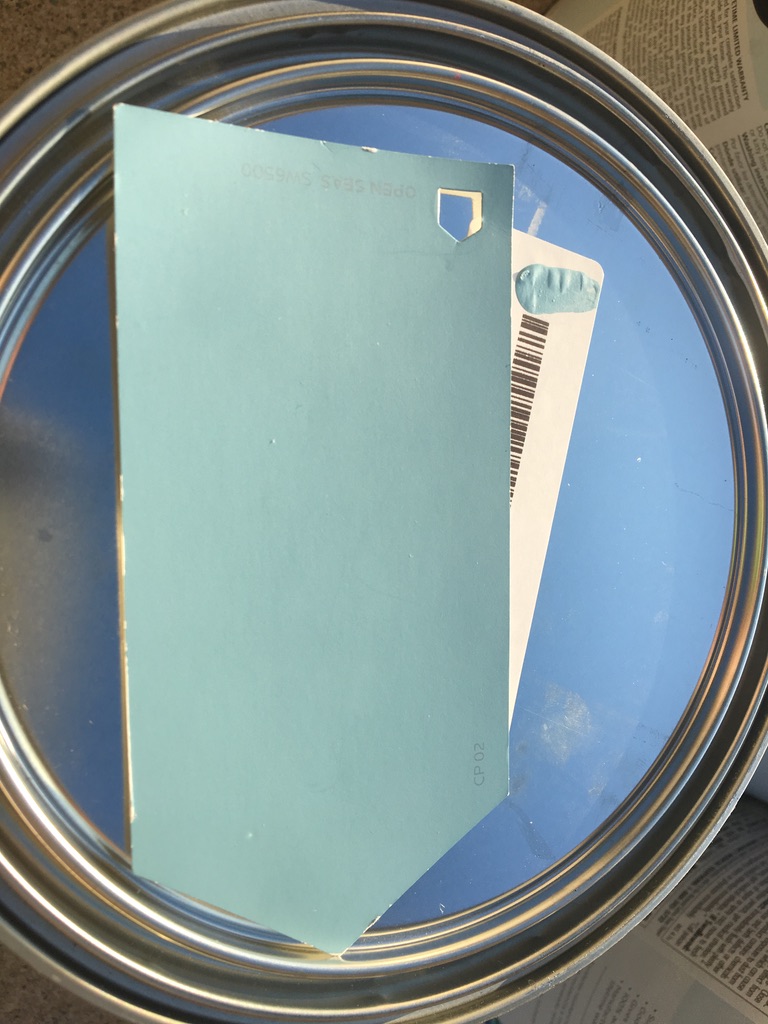

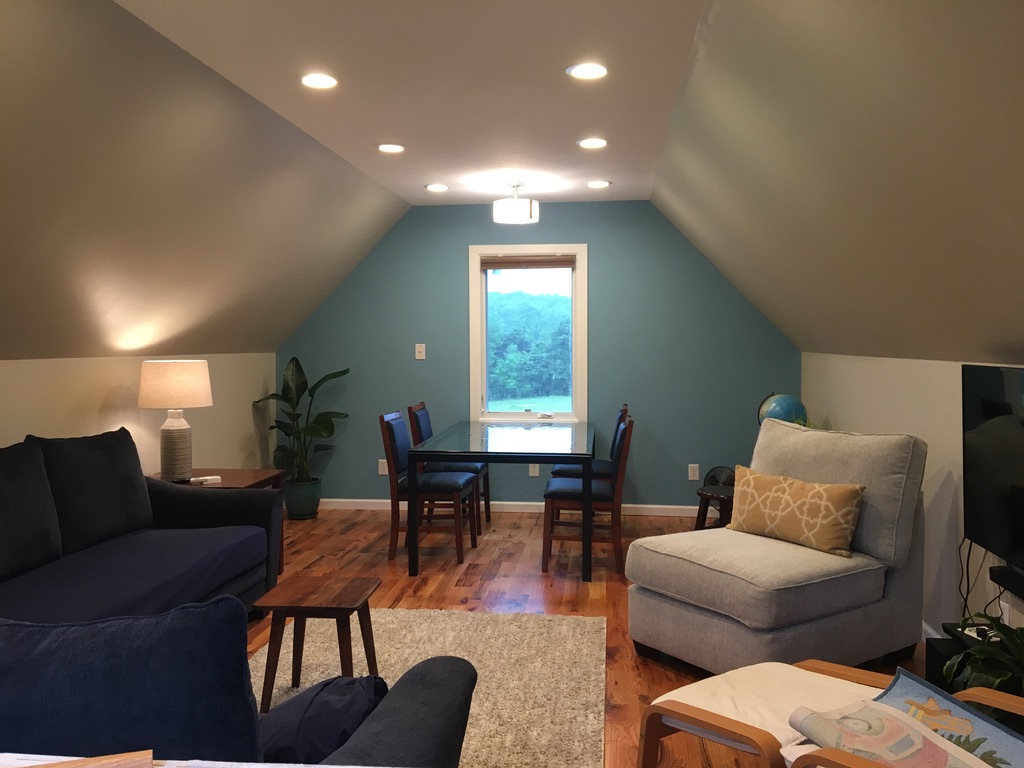
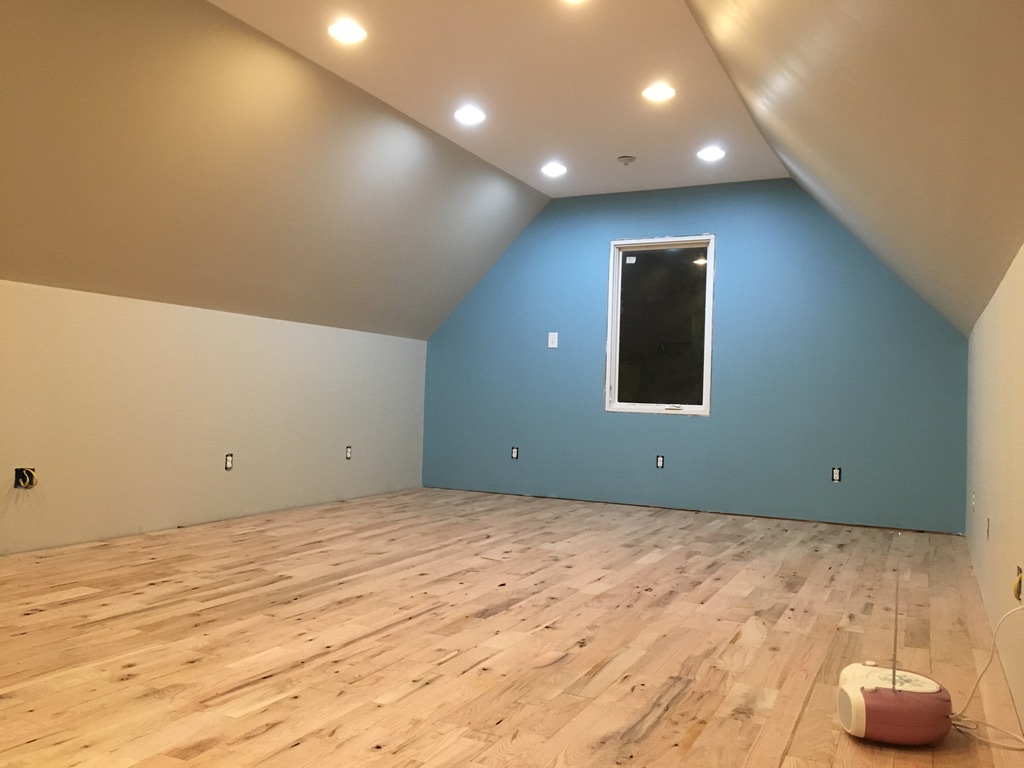
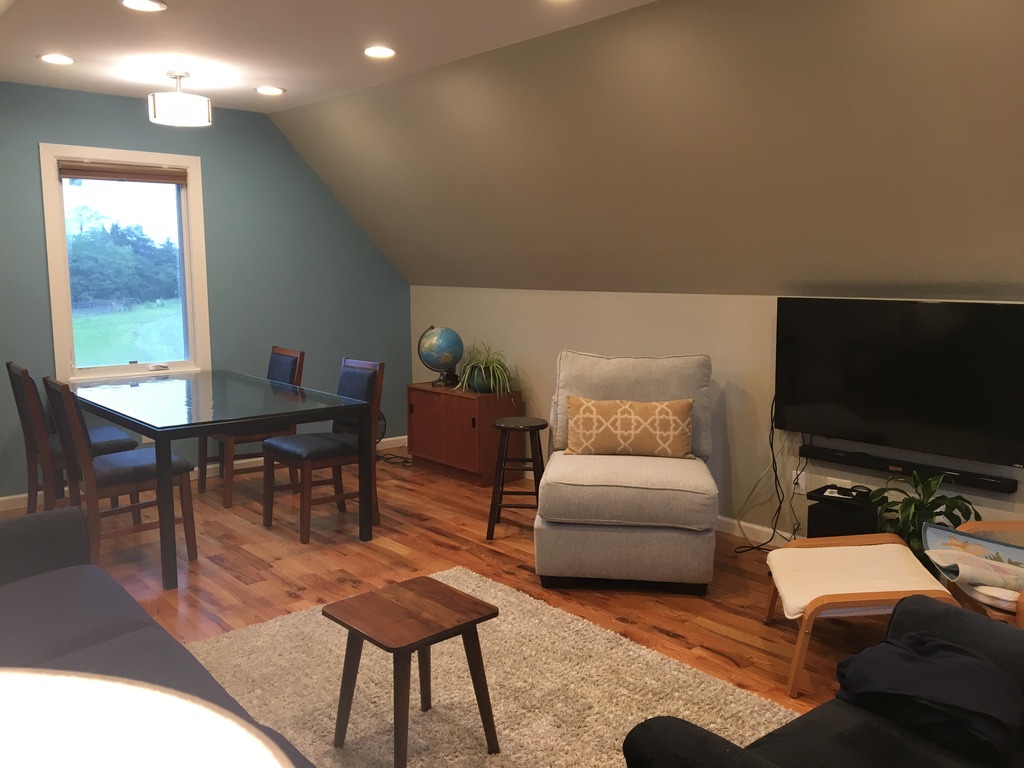
I chose Open Seas for the accent wall color. For all remaining walls, Accessible Beige was my color of choice. It’s soft color was inviting and kept the room from feeling like a tunnel.

Hardwood Flooring
My favorite part of a renovation project is almost always flooring. It brings a room to life. I️ know engineered hardwood is all the craze these days, but I️ guess my husband and I are just old fashioned. We are partial to unfinished tongue and groove hardwood flooring. It’s durability and finished appearance are what we’re drawn to. We’ve installed it on both floors of our current and previous home.
Flooring Grades
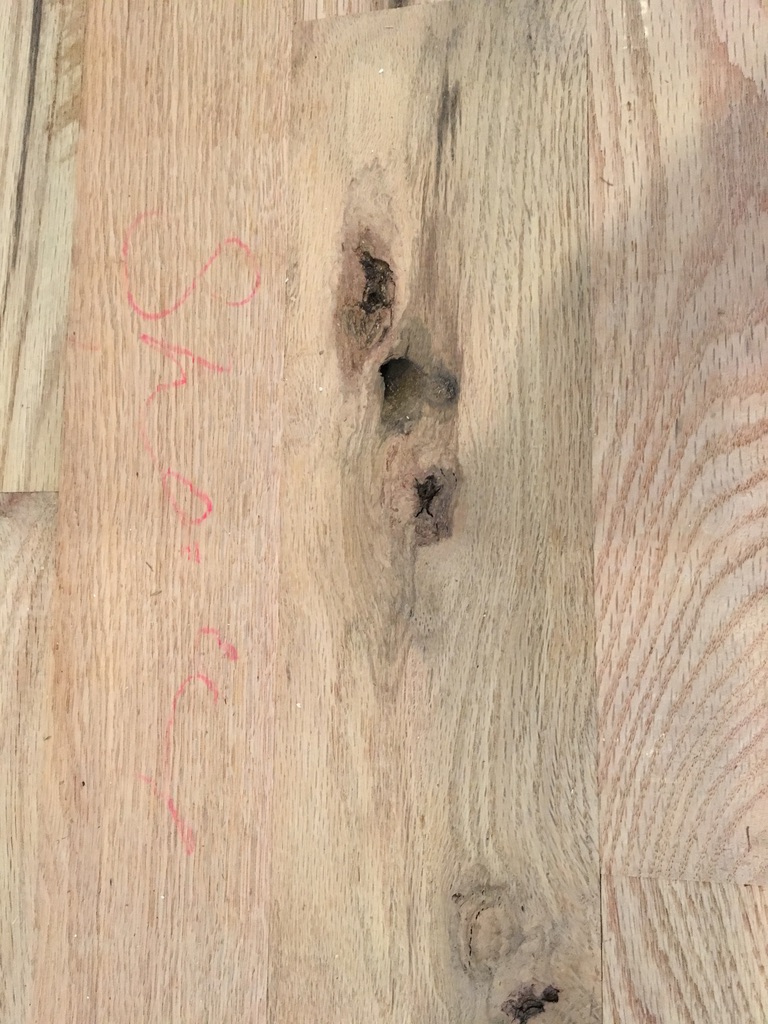
Since our bonus room isn’t a high visibility area, we wanted something durable, but budget friendly. Understanding floor grades helps understand cost. If you’re familiar with grades, you know that premium oak is considered Select, followed by #1 Common, #2 Common, and #3 Common. I️ looked into a discount chain flooring store. They offered a mixed lot of discount hardwood bundles of mixed lengths, but mostly shorter pieces. We were in the budget for their #3 Common, but when I️ saw a picture of their finished wood, it was really unattractive. As a result, I️ was back on the hunt for a flooring solution.
WoodWudy Wholesale Flooring
Thankfully, I️ read online about this awesome company named WoodWudy Wholesale Flooring. Their headquarters are located in Georgia. I was delighted to discover their #3 Common was priced about 30% less than the discount chain store! They answered all of my questions and even e-mailed pictures of a customer’s recent finished project. It was a #3 Common and it looked pretty good!
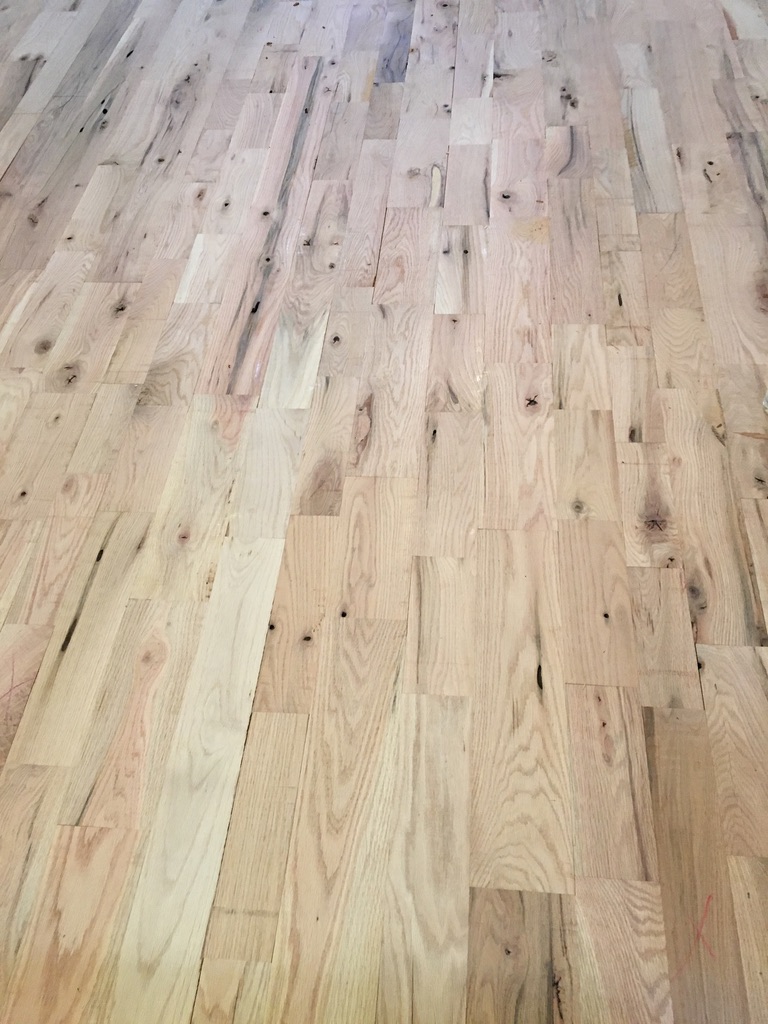
Flooring Grades
I shared that we were wanting to finish off our unfinished bonus room and stick to a budget. She explained that #3 Common is a mix of short and long boards that were basically culled from bundles of Select, #1, and #2 Common flooring from their mills. It’s then sold as #3 Common. It would have some knots and imperfections, but it was likely the kind of character we were seeking. The rep explained that they work with several mills and know the quality of their wood. She said we may have about 10%-15% unuseable wood. The typical for #1 or #2 common is about 5% or less. However, even with factoring in a certain amount of unuseable wood, it was still a great savings and well within our budget.
Prices Too Good To Be True?
I️ thought their prices were too good to be true, but a quick call to verify revealed they were legitimate. The lady I️ spoke with was personable and helpful. She said I wasn’t the first person to see their great prices online and call to make sure they were legitimate.
Shipping
WoodWudy required a minimum order of 350 sqft to avoid a handling fee, but even with shipping, we got a great deal. We had it freight shipped to FedEx and picked it up there. Since we live in a rural area, it was shipped to a nearby city about 45 minutes away. FedEx loaded the pallet of wood onto our utility trailer. It was an easy process.
Unfinished Hardwood Installation & Finishing
Floor Prep
We prepped the floor, making sure to remove all staples, nails, and debris. Next, we covered it in 30 pound tar paper (roofing felt) as the underlayment for our hardwood. Its purpose is to eliminate sqeaks that occur over time. After tar paper, we marked the base of the drywall, where the floor joists are located. We then chalked a line on the tar paper and aimed to nail into the studs. Those chalk lines are a great stud guide. The benefit of nailing into the studs is the installation results in a very secure floor.
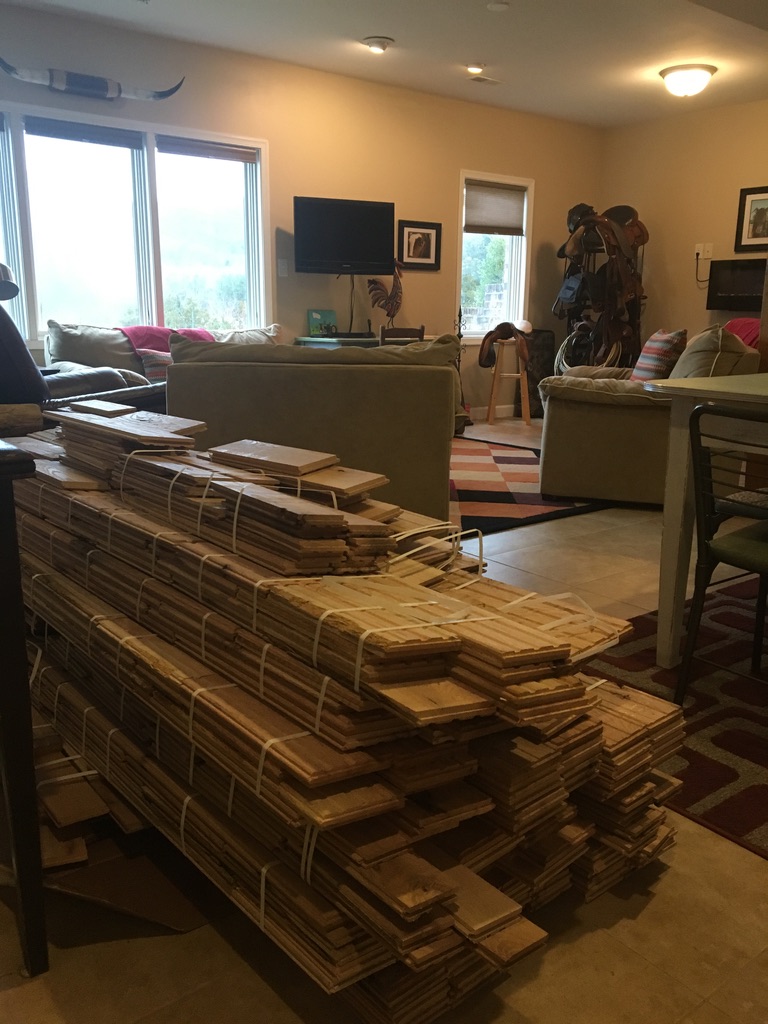
Climate Controlled Storage
There is an ideal temperature and humidity for wood. It needs to be stored in a climate controlled environment. The experts recommend bringing the hardwood into an acclimated space and letting it sit for 7-10 days prior to installation. This is a step we never skip.
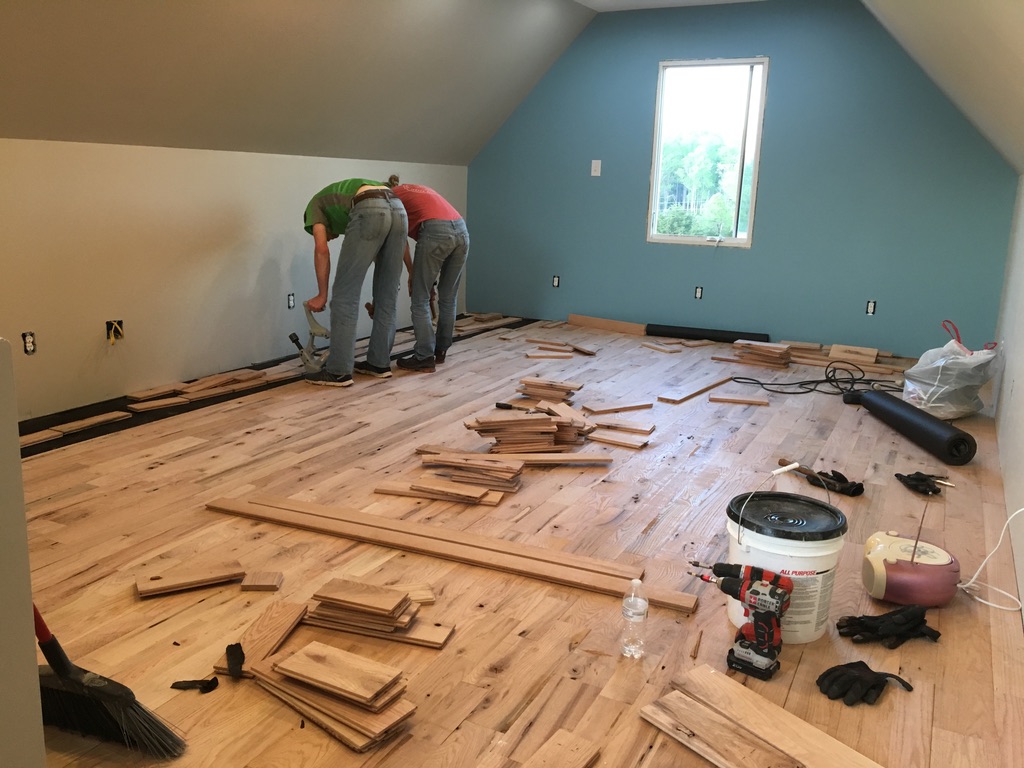
Staggering Hardwood Runs
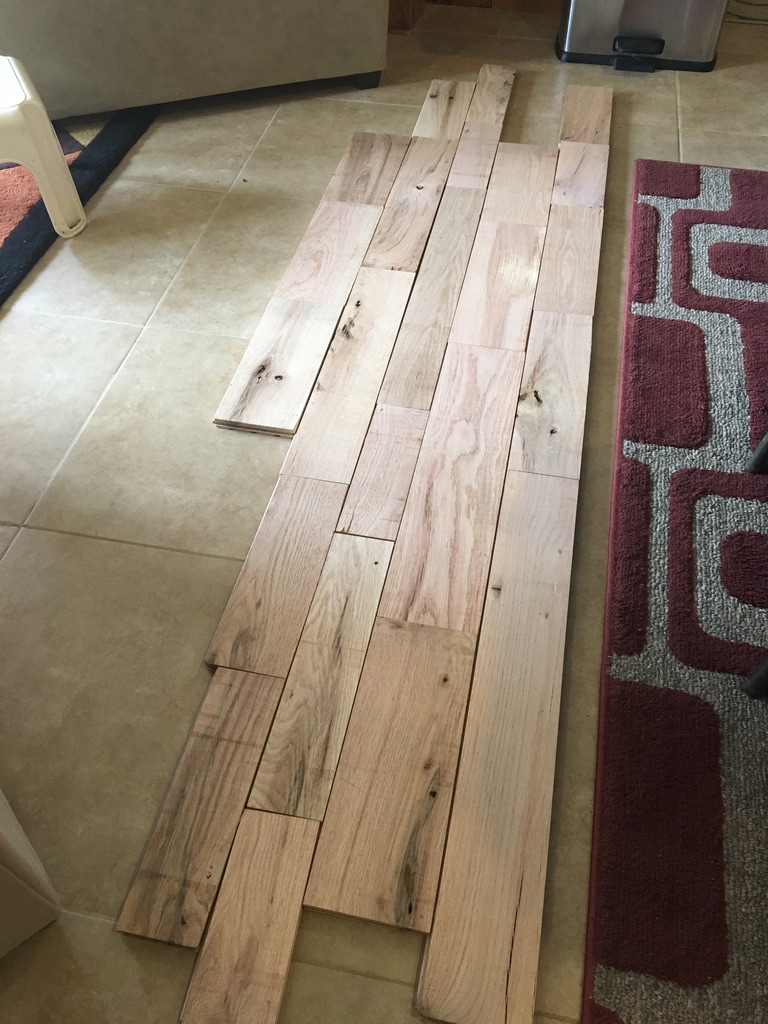
To enhance the completed appearance, we chose a mix of red oak in 3 widths – 3″, 4″ and 5″ wide.
During the climate acclimating process, we went through each bundle and removed the pieces with broken tongues, crooked pieces, and those with too much ink or wax markings. Next, we arranged the rows to blend the widths, staggering the sizes in somewhat of a pattern. We also made sure each length of hardwood was staggered so that it wasn’t the same width as the piece in the row next to it.
Installation
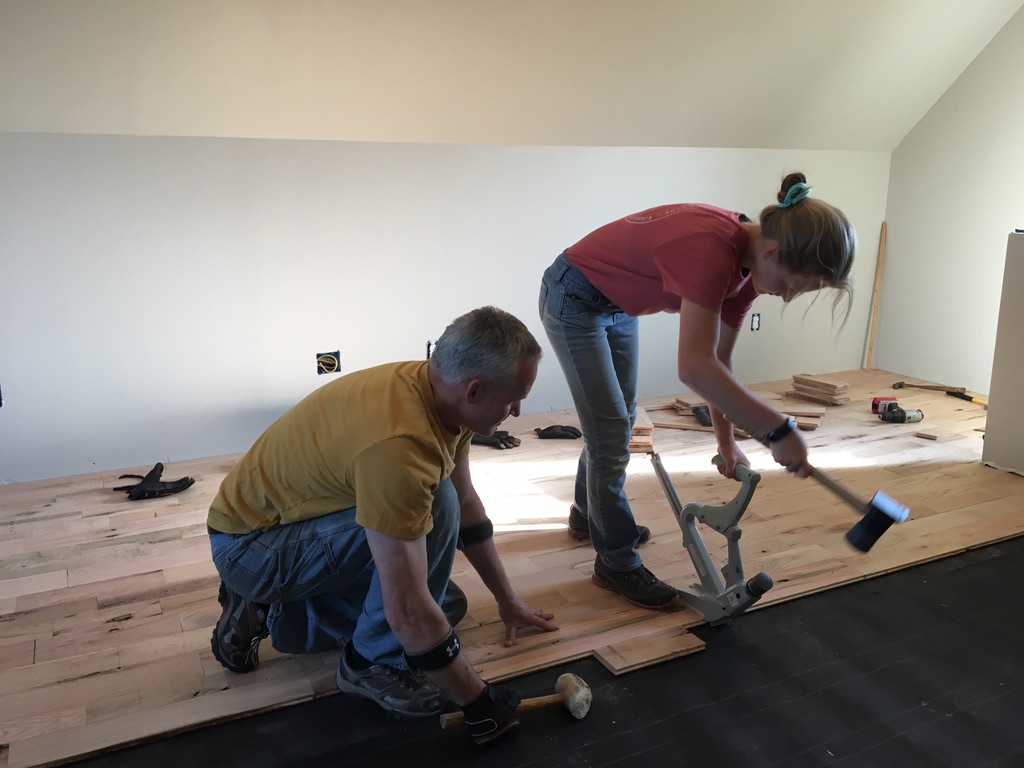
Install Unfinished Hardwood
As pictured, we installed the hardwood with a manual Porta-nailer. It uses a special nail, and is driven manually. There are pneumatic options that operate with less effort and use staples, such as these https://amzn.to/3ZTv4E4. If we do another hardwood install, I’m seriously considering making the swtich to a pneumatic nailer. It’s much easier on middle aged hands and elbows.
Wood Filler
This room wasn’t going to be a high traffic room or area visible to guests. I wanted it to look nice, but I also wanted a budget conscious room with hardwood flooring. When I selected the #3 Common, I chose to fill holes with wood filler prior to sanding and applying polyurethane. It was a tedious process, but not difficult by any means. I️ went through a large tub of wood filler for the unfinished oak. The finished product looked great.
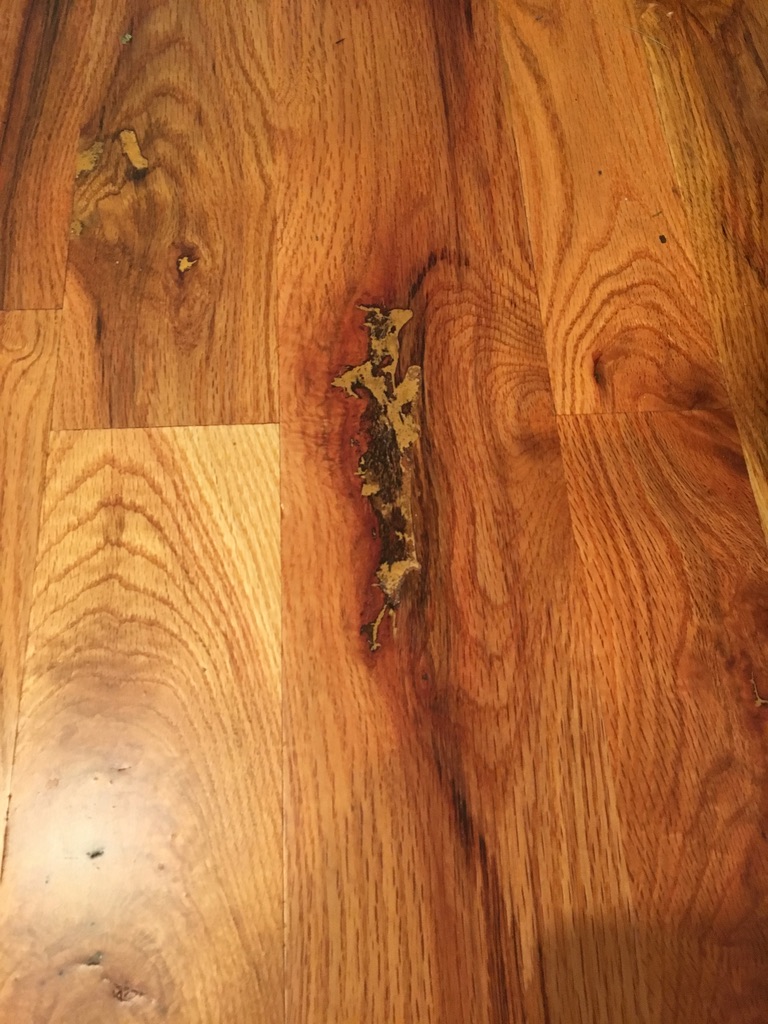
I️ like natural wood, so I chose a filler that would blend with the finished natural color. This is a step that occurs prior to sanding. If you are planning to stain your wood, chose a stainable wood filler like this one https://amzn.to/3ZsvNw5.
Sander Options
Depending on the size of your project, renting an inexpensive vibrating pad floor sander is an option. They are not aggressive sanders and are good for new construction. Should you desire a more aggressive sander, a drum sander is also an option. However, drum sanders require more skill to operate without causing damage to the floor.
Sanding Grit for Unfinished Flooring
We started sanding the floor with a more aggressive 50-80 grit sand paper. Next, we increased our sanding to a 120 grit and finished with a 200 grit.
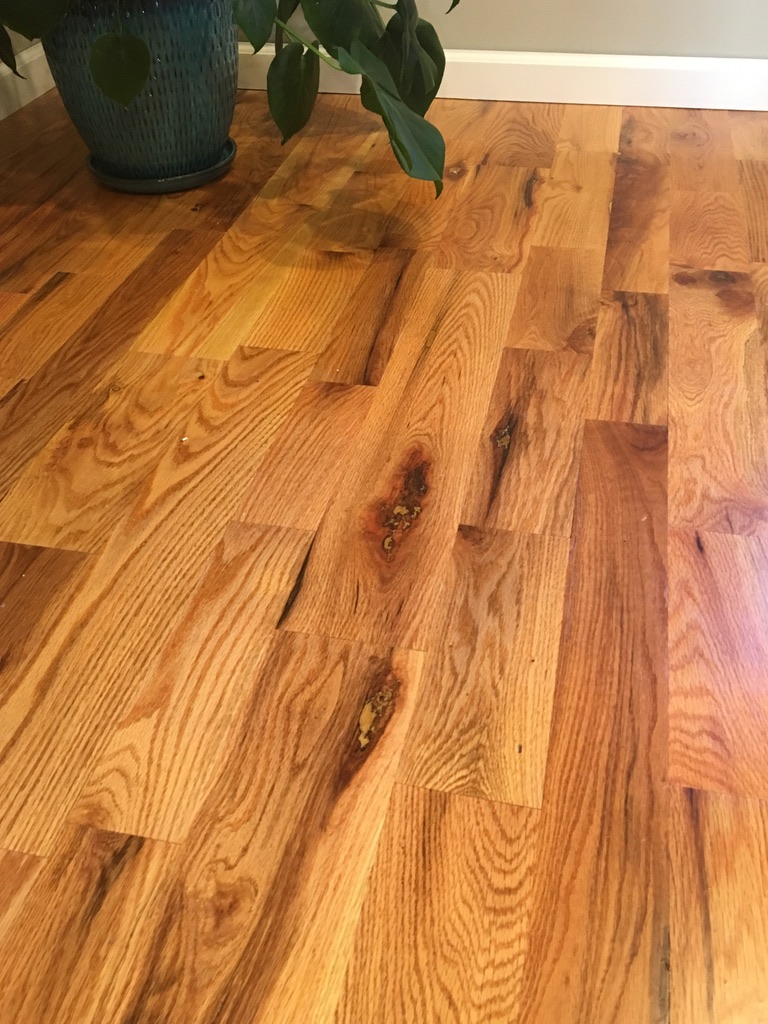
Stain and Polyurethane Unfinished Hardwood
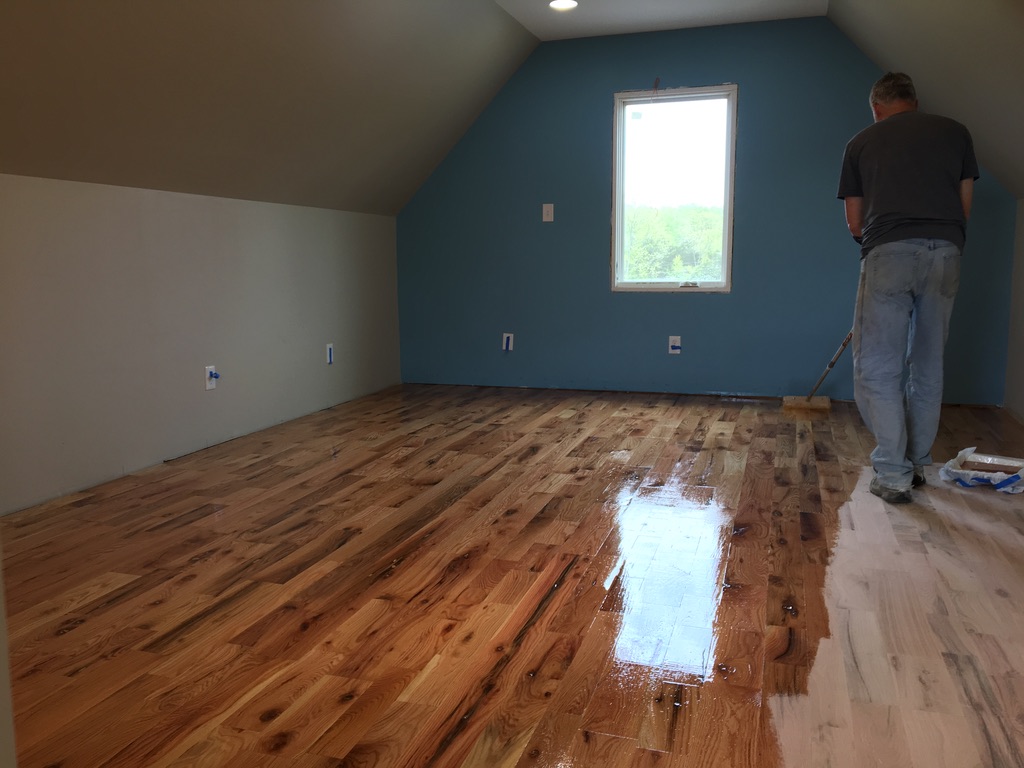
I really like the natural appearance of most unstained wood. Therefore, we opted to not stain and just apply a natural water based polyurethane. However, many people chose to first apply an oil based stain. It’s really just a matter of preference. We chose water based polyurethane because we like the easier clean up. It also has less VOCs than the oil based. As for the sheen, we typically choose a semi-gloss polyurethane because we like a finish that isn’t flat, but isn’t too shiny either.
NOTE: It’s critical to mention that when using water based polyurethene, after the oil based stain, make sure the stain is completely dry. The experts recommend waiting 72 hours. Regardless, make sure your stain is dry before applying either oil or water based polyurethane.
Our Experience
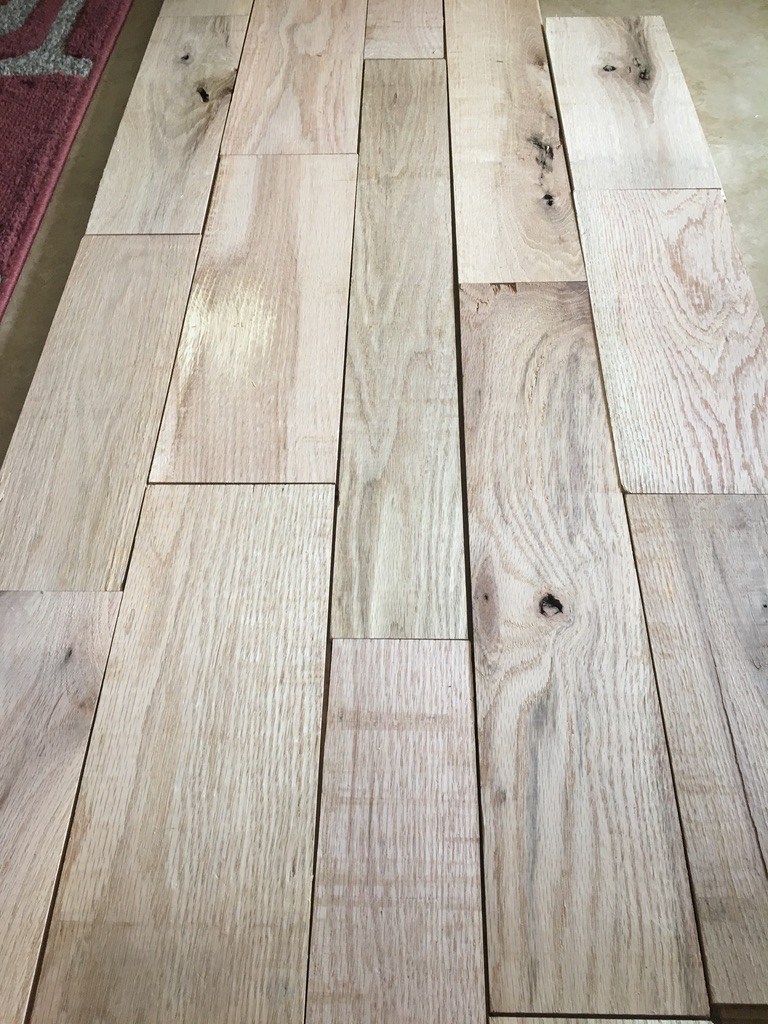
We applied 3 coats of polyurethane, sanding with a 300 grit in between. The finished product was amazing. It was ideal for a multi-purpose room. If you’re looking for flooring, even Select grade or pre-engineered hardwood, consider checking them out. We were super pleased with WoodWudy, and found that no one could touch their prices.
Not surprisingly, the finished #3 had a lot of character and the knots gave it a hickory appearance. This was ideal since our taste seems to lean towards a blend of modern/rustic.
Completing the Project
My daughter and I️ use this room for homeschooling. It’s also a retreat for my older two, and their friends, when they want to watch a movie or hang out. My husband gets up way before dawn each weekday morning, so moving the late night noise up to the bonus room has been a blessing for him. It’s also a great place for me to escape to work quietly. Regularly, I express gratitude to my husband when I️ say, “Have I️ told you how much I️ love that finished bonus room?”

Decorate the Space
I wanted as much natural light as possible. However, when when watching a movie, we like the room dark. Retractable blackout shades are a nice addition, especially if the room is going to be used as a media room or theater. I really like the thermal benefits of these blinds, too.
Consider the use for your space. Select furniture and accessories accordingly. Make it functional and inviting. If you begin the project on a budget, be diligent to stay on budget. It’s easy to spend more than anticipated. I started off this project determined not to exceed the amount budgeted. It was tempting to spend more, especially on furnishings, but I didn’t give in. In fact, I bought the vinyl for those dining chairs from Joann’s and recovered those chairs myself. I bought that incredibly heavy table from Facebook Marketplace for $150 and spray painted the frame black. It turned out great.
So, make a plan and stick to your budget. Undoubtedly, you’ll be so glad you tackled this project. I know you’re gonna love it.
If you enjoyed this DIY, check out my others. Spring is right around the corner. Here’s a DIY on staining your front porch https://lifeinthecountryusa.com/stain-your-porch-and-boost-your-value/.